Midjourney's style codes, or "srefs," are powerful tools that allow you to maintain consistent aesthetics across multiple AI-generated images. These alphanumeric strings encapsulate complex visual styles, including color palettes, textures, and artistic influences.
For many users, style codes remain an untapped resource. However, mastering them can significantly enhance your ability to create cohesive visual narratives and achieve precise artistic visions. Whether you're a professional artist, a brand manager, or simply an enthusiast, understanding style codes is crucial for maximizing Midjourney's potential.
This guide will walk you through the process of finding, testing, and effectively using style codes in your Midjourney creations! We'll cover practical techniques for discovering new codes, methods for rigorously testing their characteristics, and strategies for applying them across various subjects.
Exploring styles in Midjourney is a lot of fun – let's get into it!
If you're new to this, you might want to check the general guide on Midjourney Style Reference before.
Finding Style Codes: The Magic of --sref random
Alright, let's dive into the exciting world of finding style codes in Midjourney. Trust me, it's like going on a treasure hunt, but instead of gold, you're searching for digital aesthetics.
Unfortunately, as of right now there's no official Midjourney resource for exploring styles, so you'll have to do all the work yourself (or check the collection on this website – I've already done it for you!).
If you want to try it, here's how to get started:
First things first, let's talk about the --sref random parameter. It's your new best friend in the quest for unique styles.
- Start with a simple prompt. Something like "a cat" will do. I usually use "garden" or something like that. Make sure the object in the prompt doesn't have any styles, lightings etc. in them (something like "sunset" might override the actual style since there's a certain way of lighting naturally attached to it).
- Add the --sref random parameter to your prompt.
- Hit enter and watch the magic happen!
For example, try this:
a cat --sref random
And just like that, Midjourney will generate an image with a random style code. If you like what you see, you're in luck – the style code will be right there in the image details.
As it can get a bit repetitive doing this again and again, I recommend using the --repeat or --r parameter – depending on your plan, you can go up to 40. Yes, that's 40 style codes generated in one prompt!
a cat --sref random --repeat 40Initial Testing of Style Codes: See what's possible
So, you've found a style code that catches your eye. Great! But before you go all in, let's take it for a test drive. Think of it like trying on a new outfit – you want to see how it looks in different lights before you wear it to the big event.
We'll use --sref 4075906083 as an example in this guide.
The First Run: Keep It Simple
First things first, let's start with a super simple prompt. I would obviously recommend something else than what you've used to find the style code in the first place as you learned in the last section.
It also makes sense to always use the same prompt for these test runs, so you can compare different styles.
- Choose a basic subject. Again, one or two words works great here. It could be something like "flying hawk", "magic castle" or "dog".
- Don't add any fancy descriptors or variables yet. No colors, no lighting, no perspective, no nothing.
- Add your style code using the --sref parameter.
Your prompt should look something like this:
flying hawk --sref 4075906083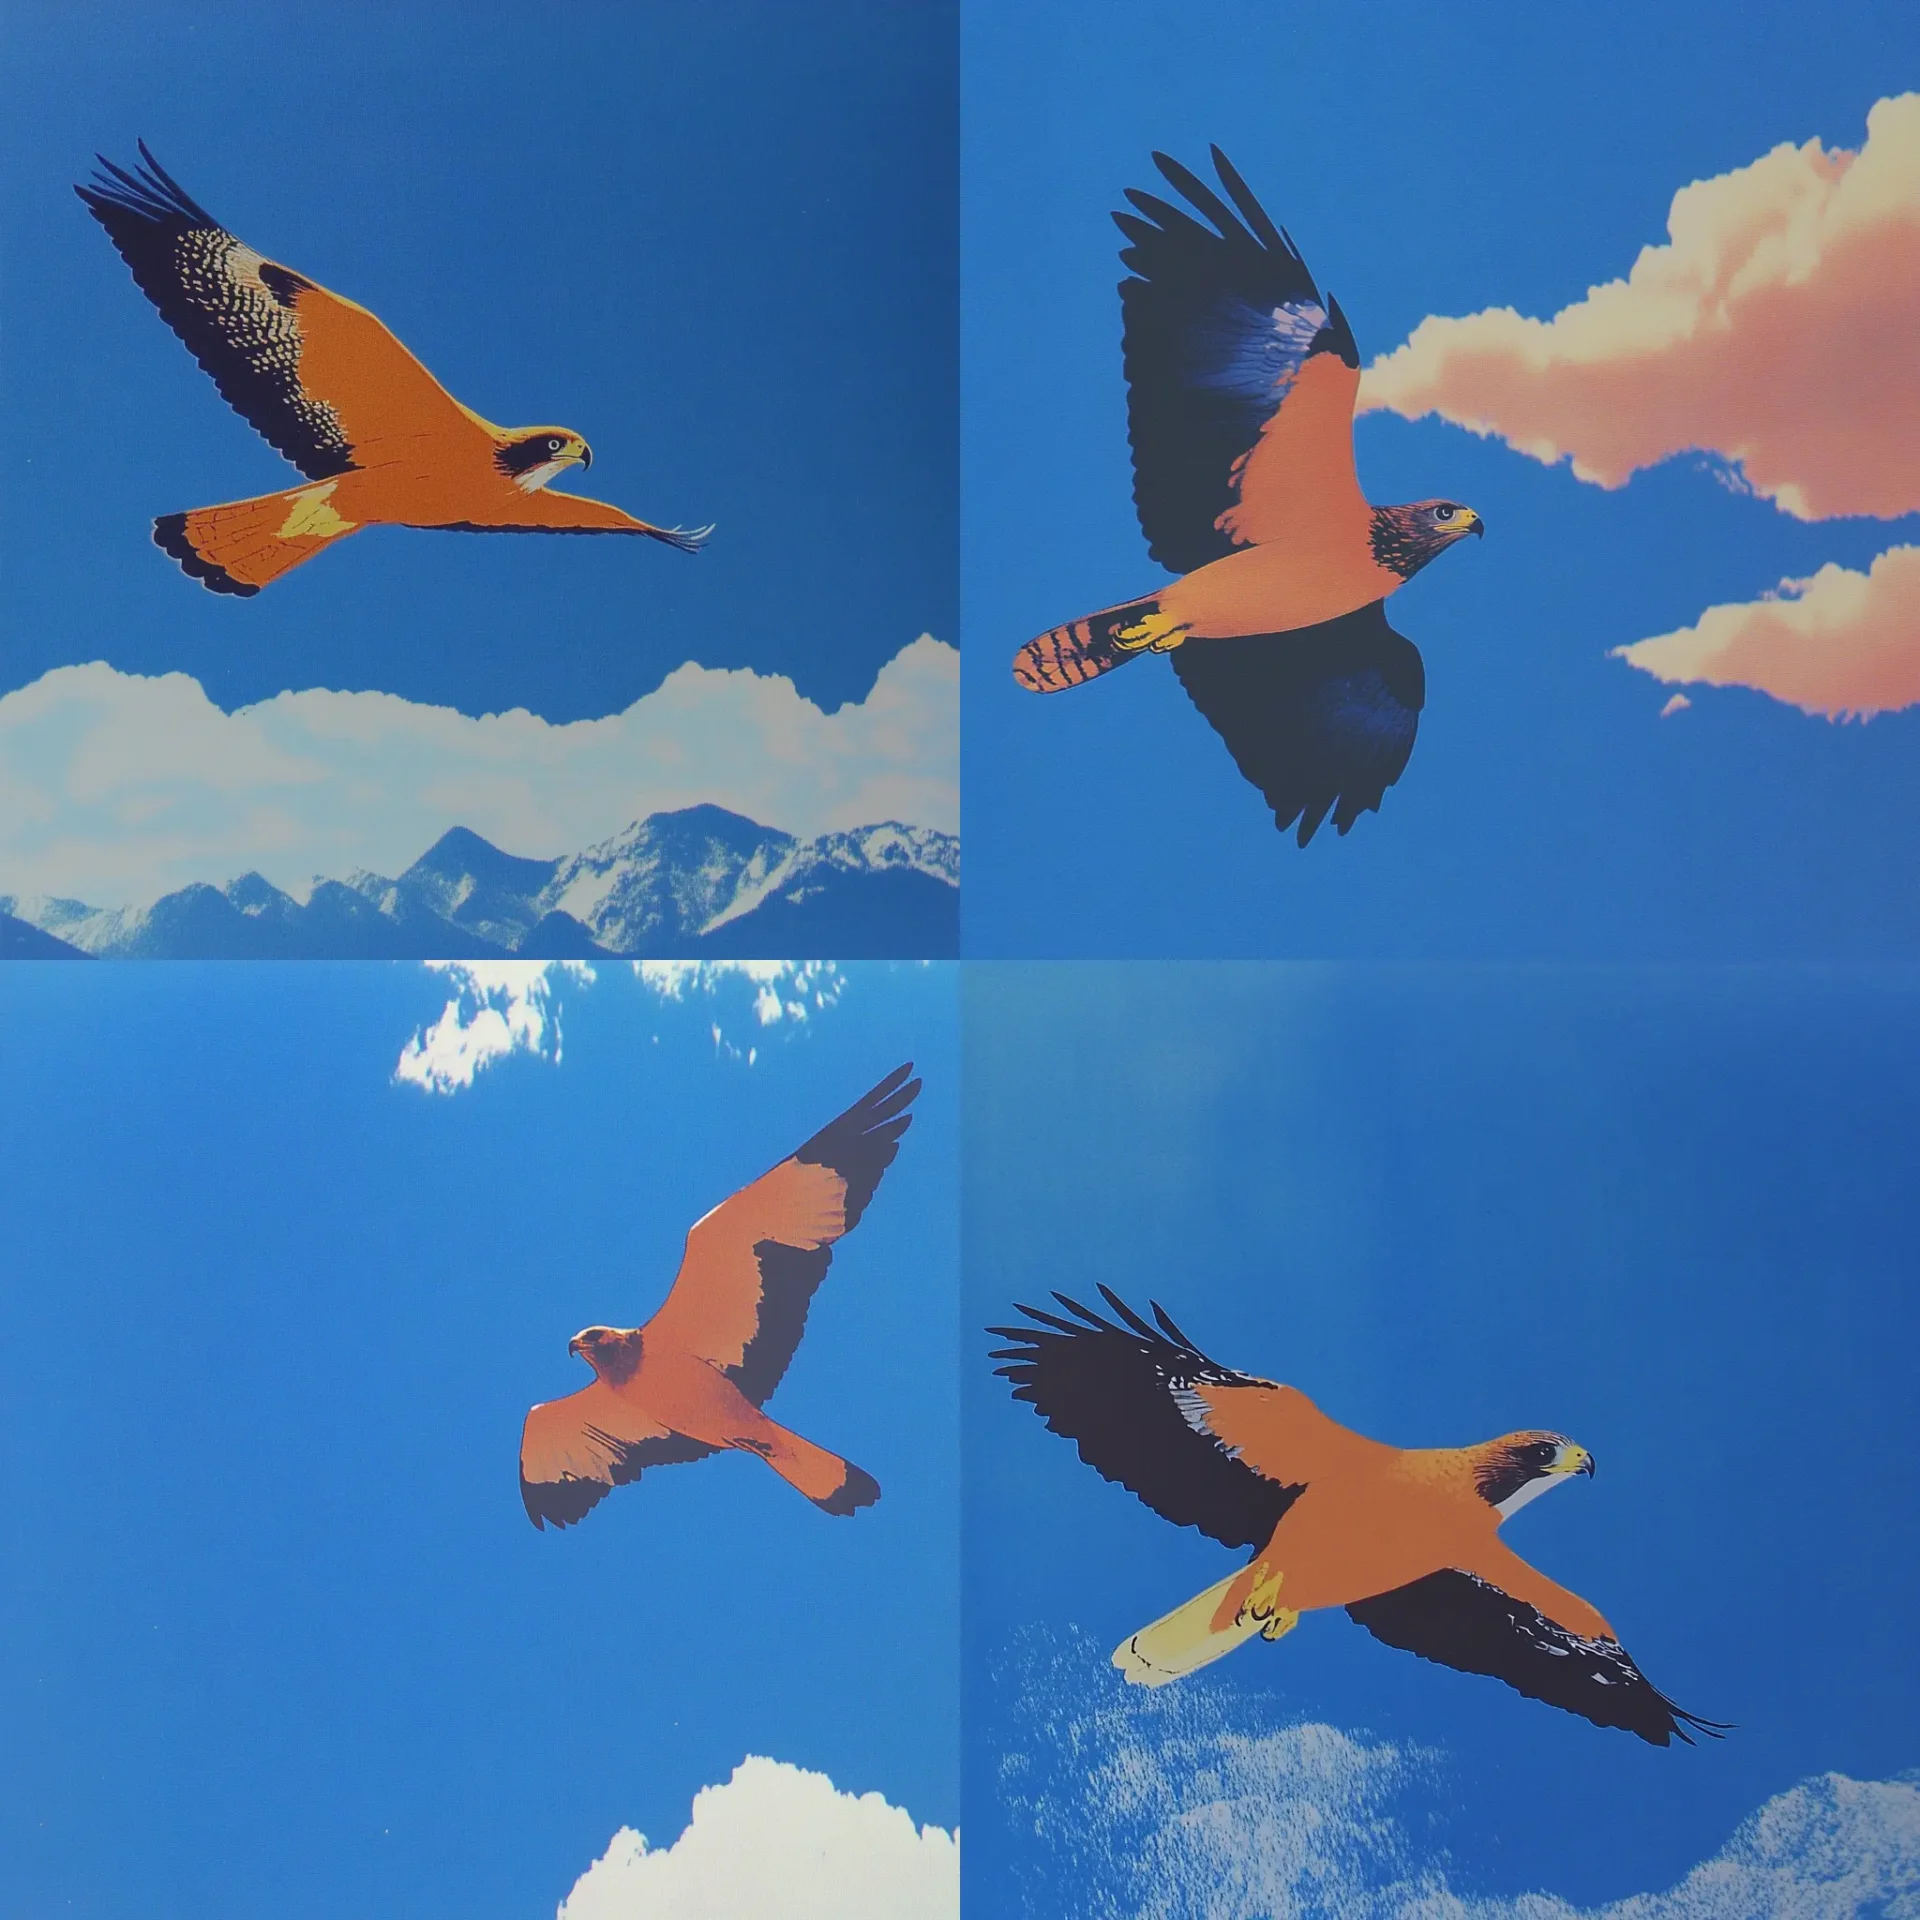
This gives you a clean slate to see what your style code is really made of. In this case, it's apparently a lot of blue.
The Raw Test: Stripping It Down
Now, let's see what happens when we add the --style raw parameter. It's like seeing your style code without makeup:
- Use the same simple prompt as before.
- Add --style raw to the end.
Like this:
flying hawk --sref 4075906083 --style raw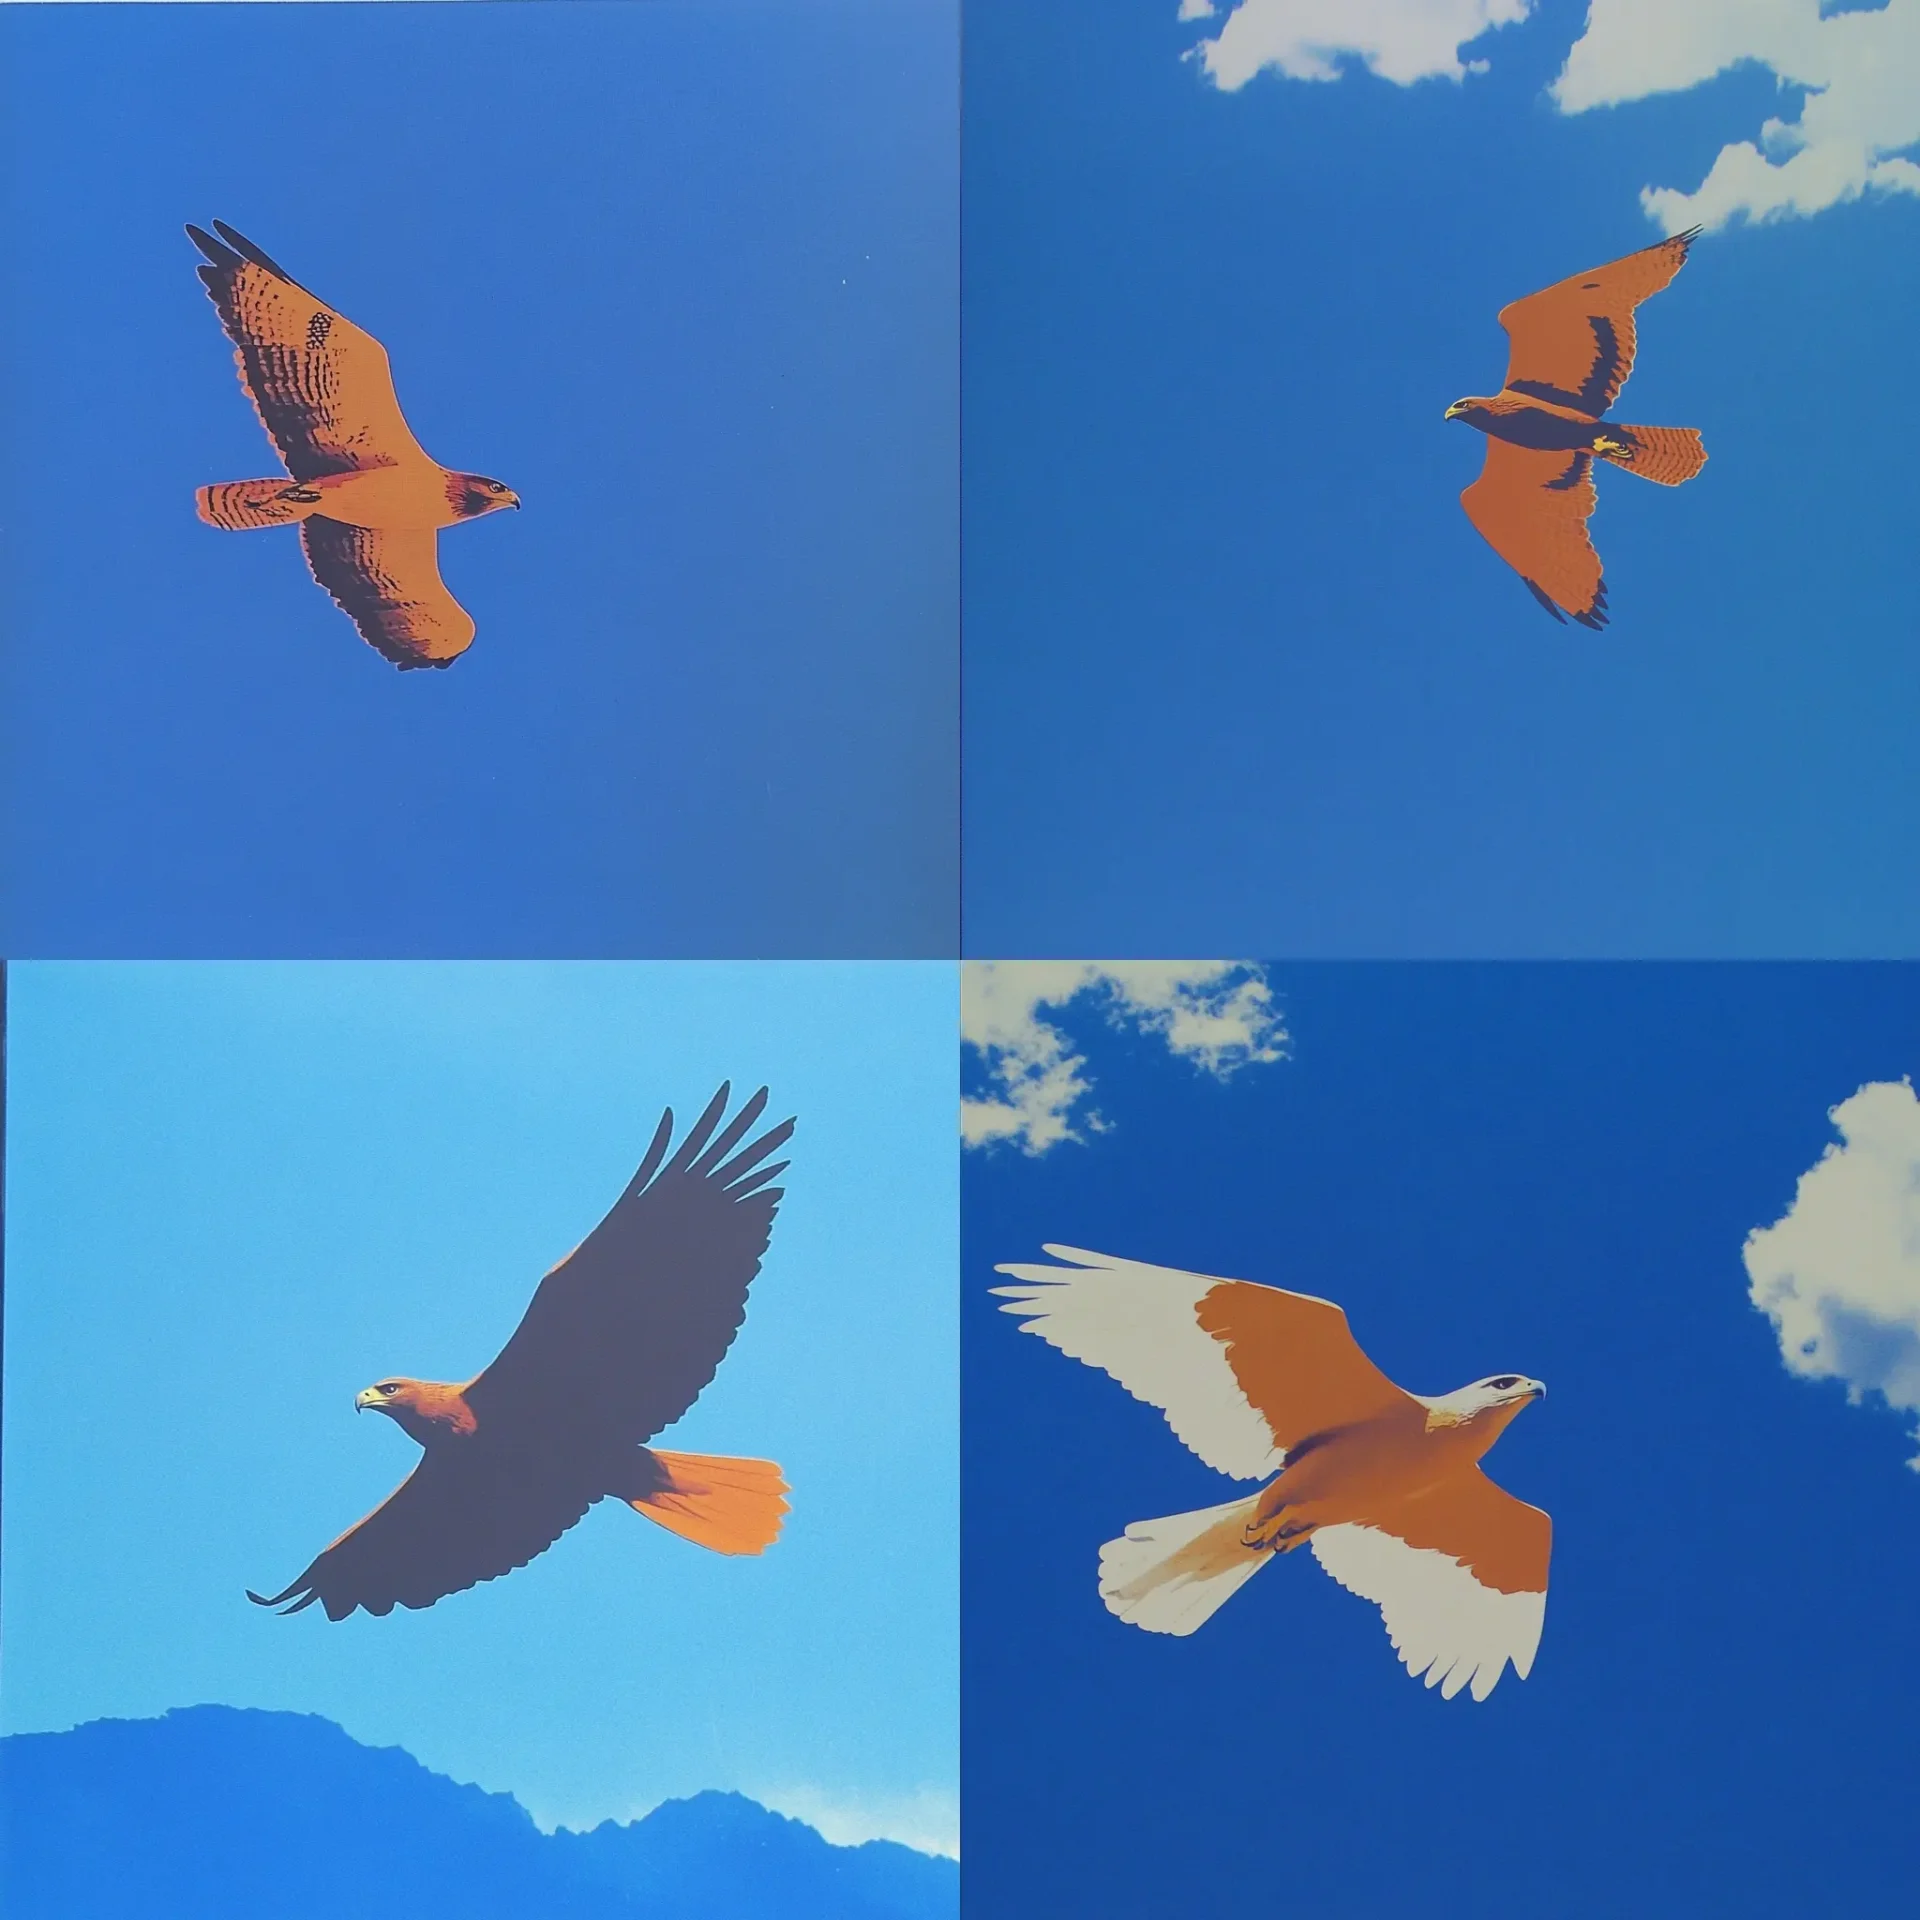
Pro tip: Always run your tests with and without --style raw. Sometimes it makes a huge difference, sometimes you can barely tell (as is the case with our example code). But it's always worth checking!
The Photorealism Challenge
Many style codes start life as illustrations. But what if you want something more photo-realistic? Let's see how your style code handles that:
- Add "photo," "photograph," or "photorealistic" to your prompt.
- Run it both with and without --style raw.
Now let's see how our style code reacts to the word "photo" in the prompt:
photo of a flying hawk --sref 4075906083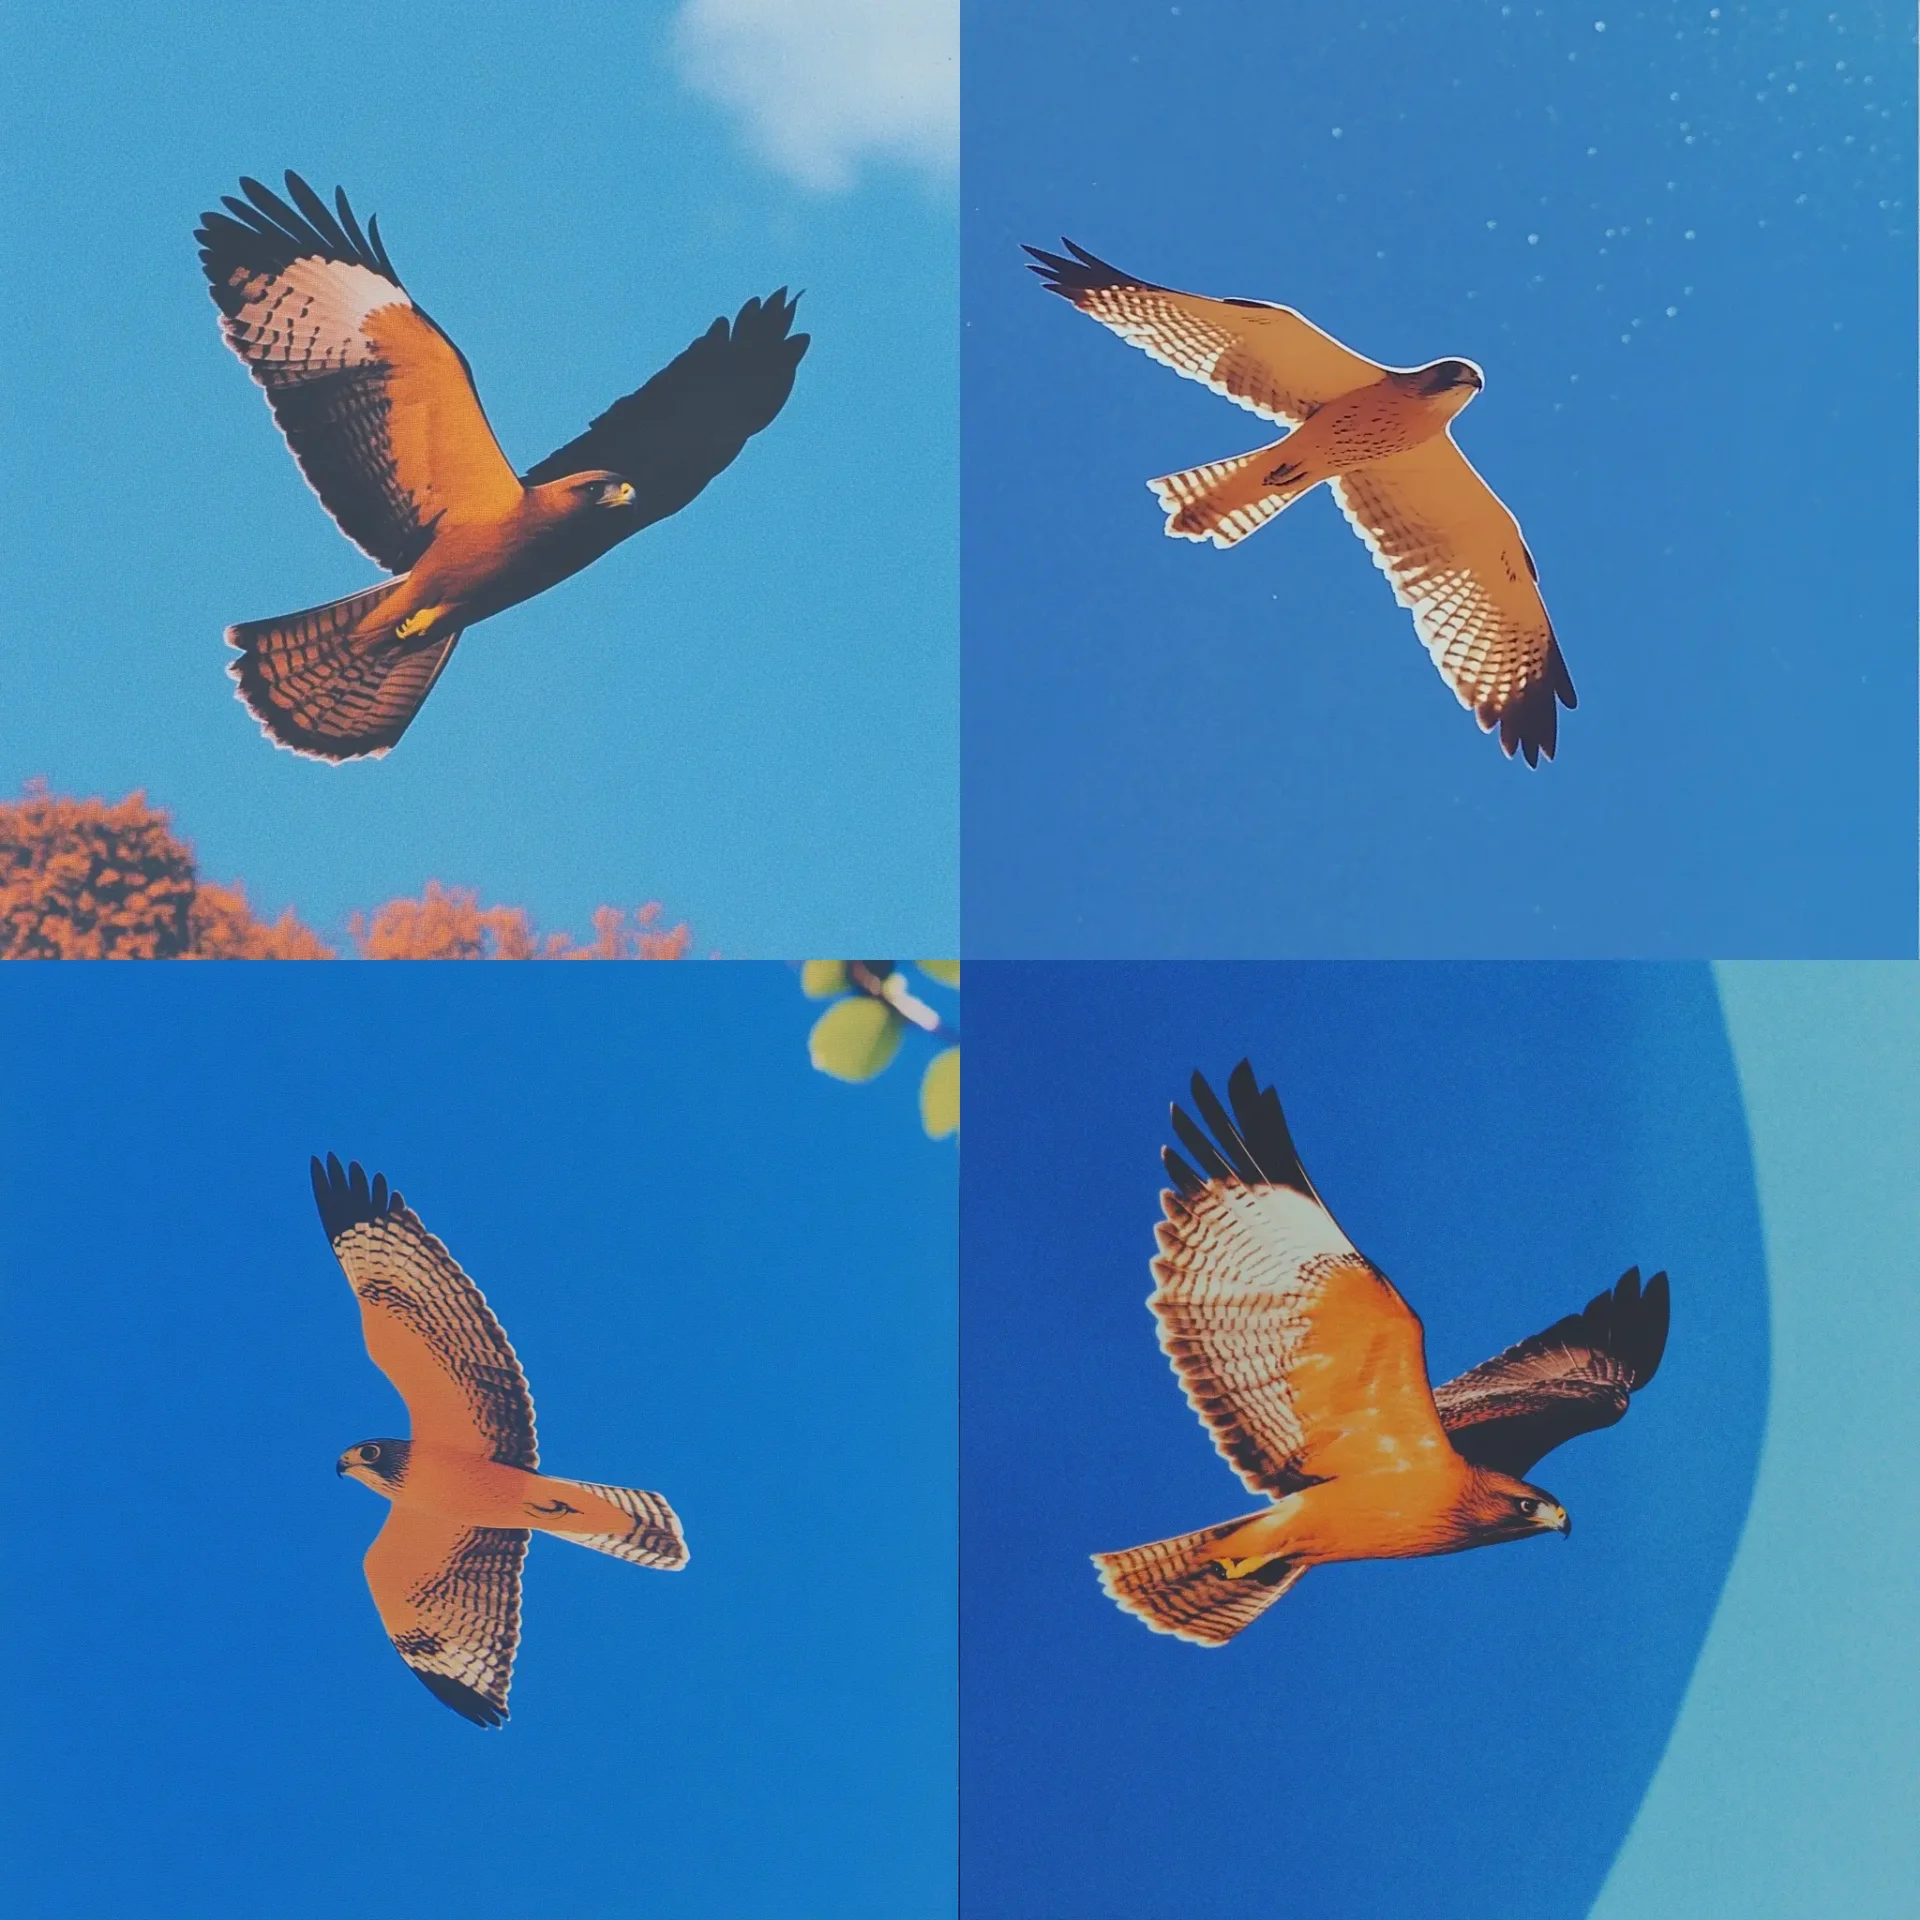
photo of a flying hawk --sref 4075906083 --style raw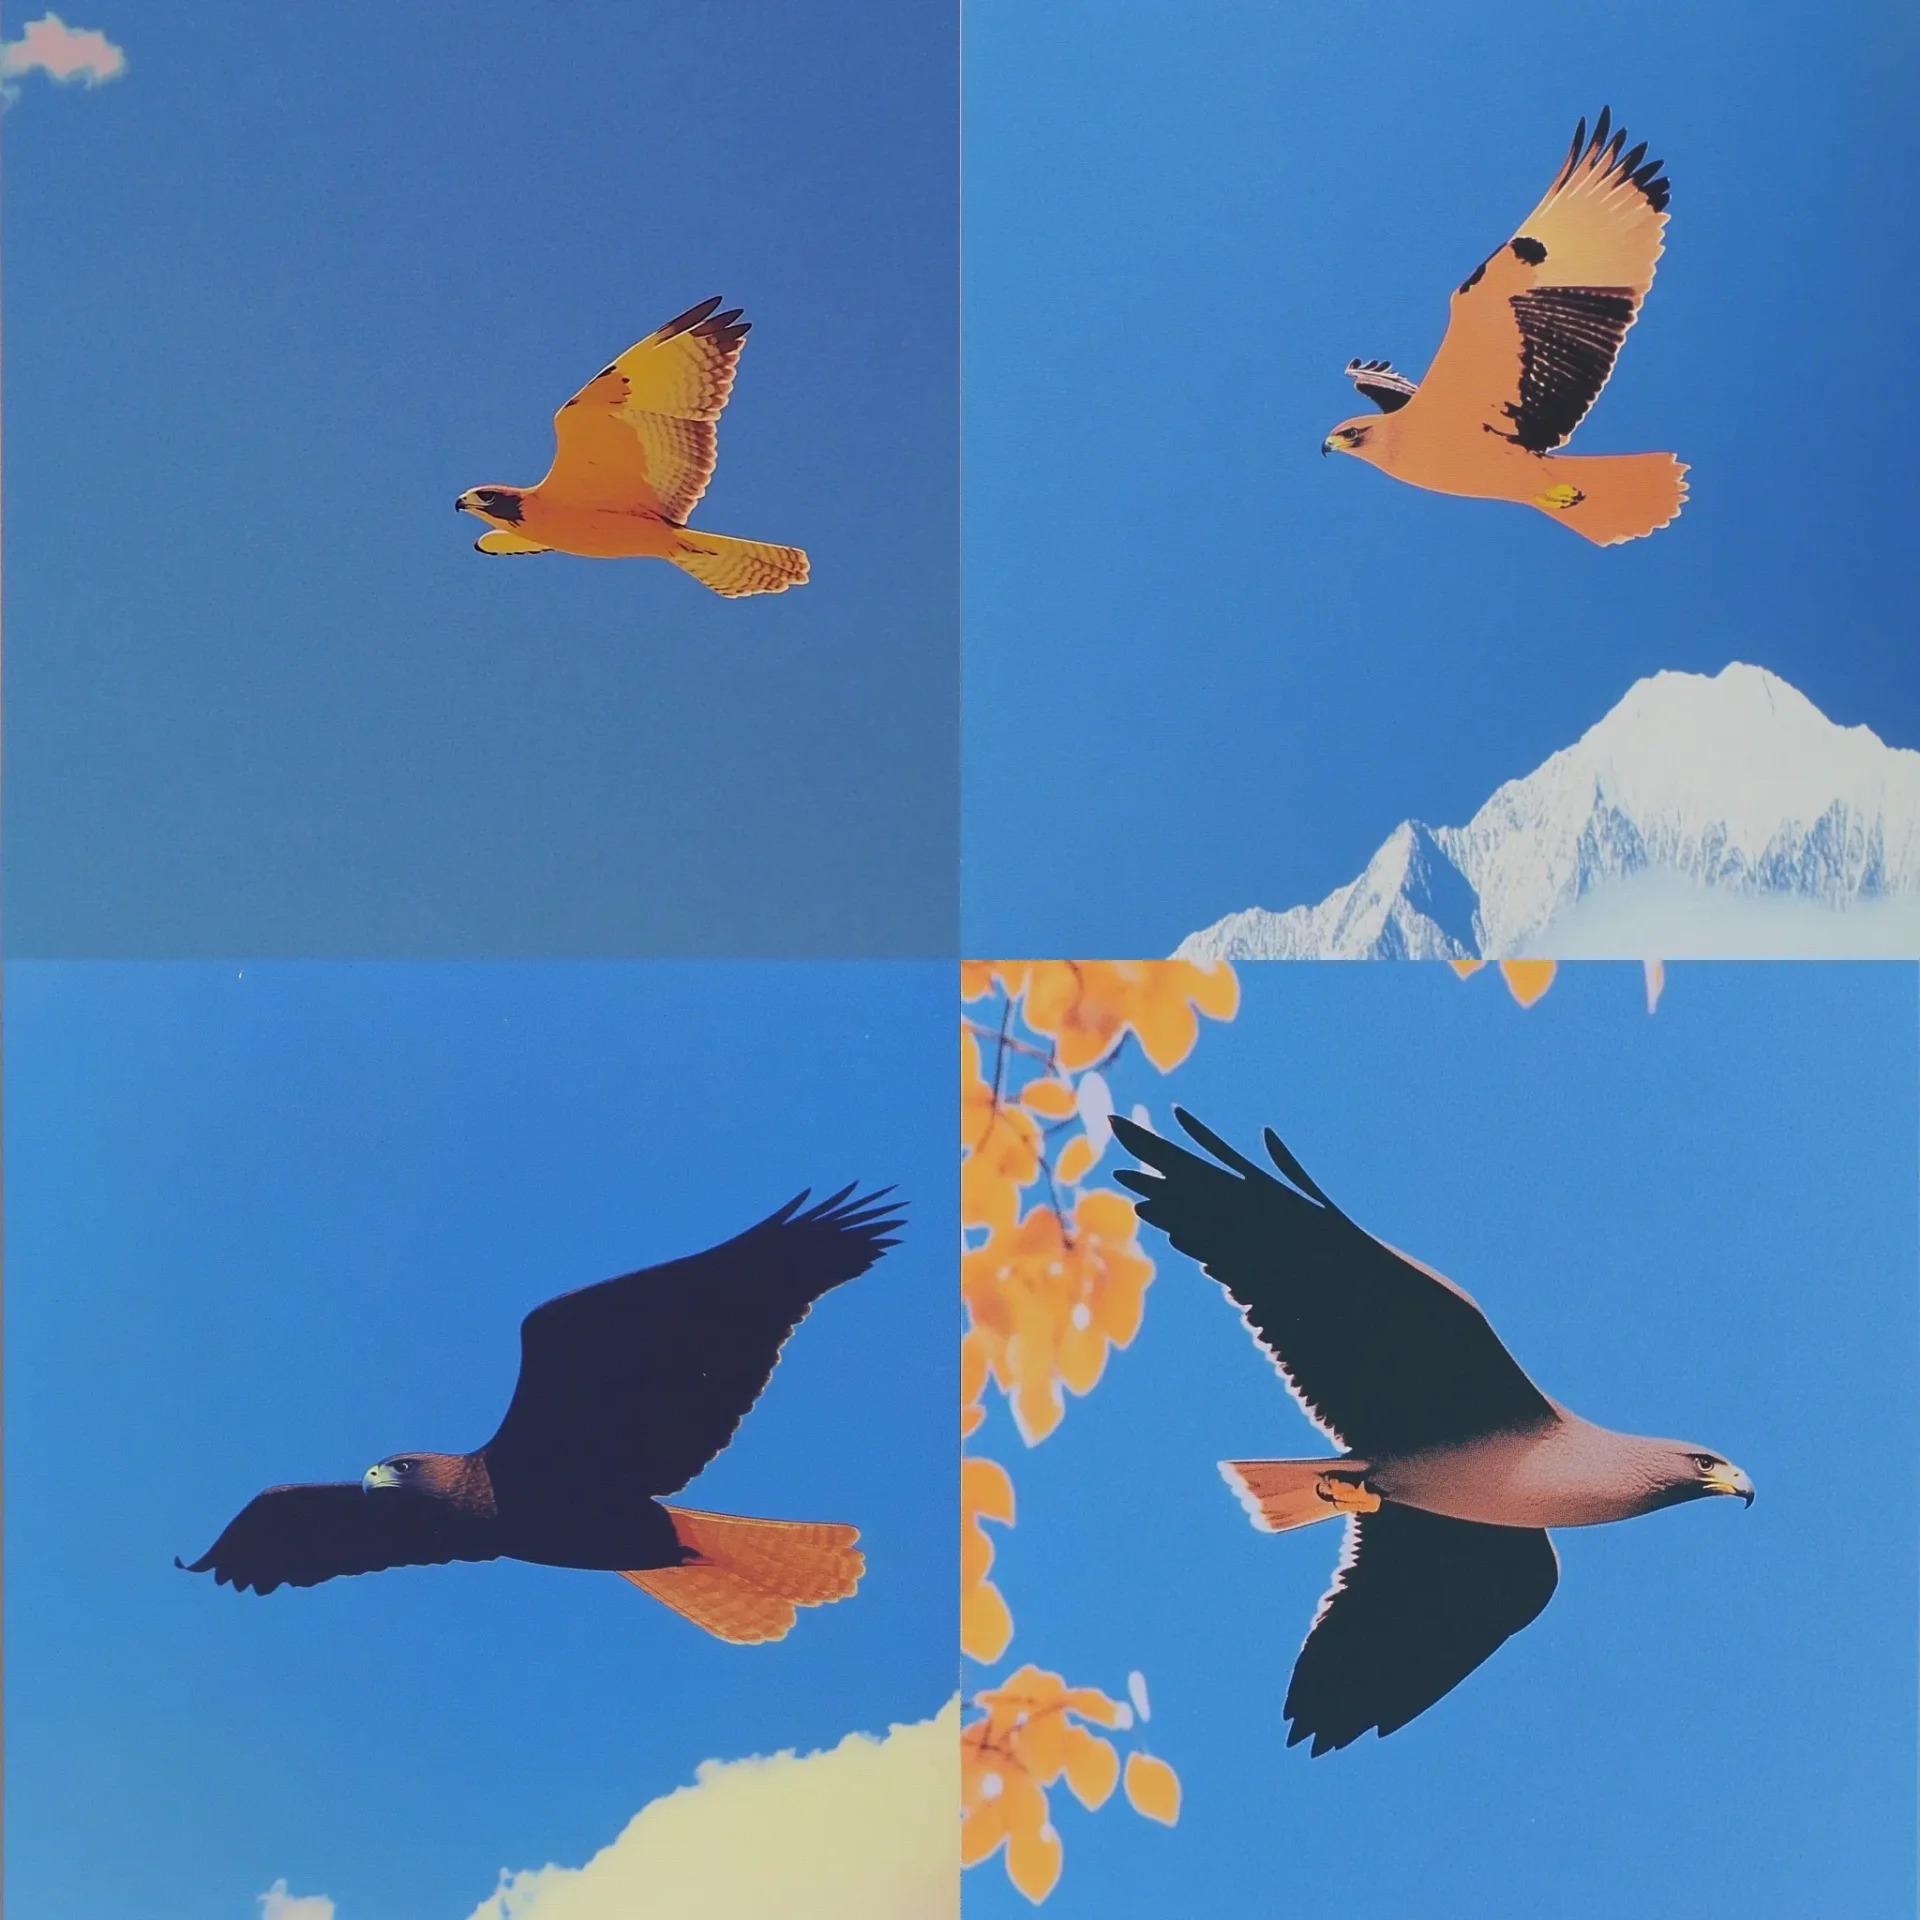
Compare the results. How different are they? Does your style code play nice with photorealism, or does it prefer to keep things illustrated?
In this case, there's a slight change (especially when using --style raw), but it's definitely not as photorealistic as it would be without using the style code.
Remember, there's no right or wrong here! It's all about understanding what your style code can do. In the next section, we'll dive deeper and really put your style code through its paces.
Exploring Style Code Characteristics: Unlocking Your Style Code's Superpowers
Alright, you've done the basic tests. Now it's time to really dig in and see what your style code can do. This is where you can get really creative – here are some ideas:
Style Weight: The Fine-tuning Knob
The --sw (style weight) parameter lets you adjust how much influence your style code has on the newly generated images.
- Use
--swfollowed by a value from 0 to 1000, with the default being 100. - Lower values mean less influence, higher values mean more.
Try comparing these:
flying hawk --sref 4075906083 --sw 50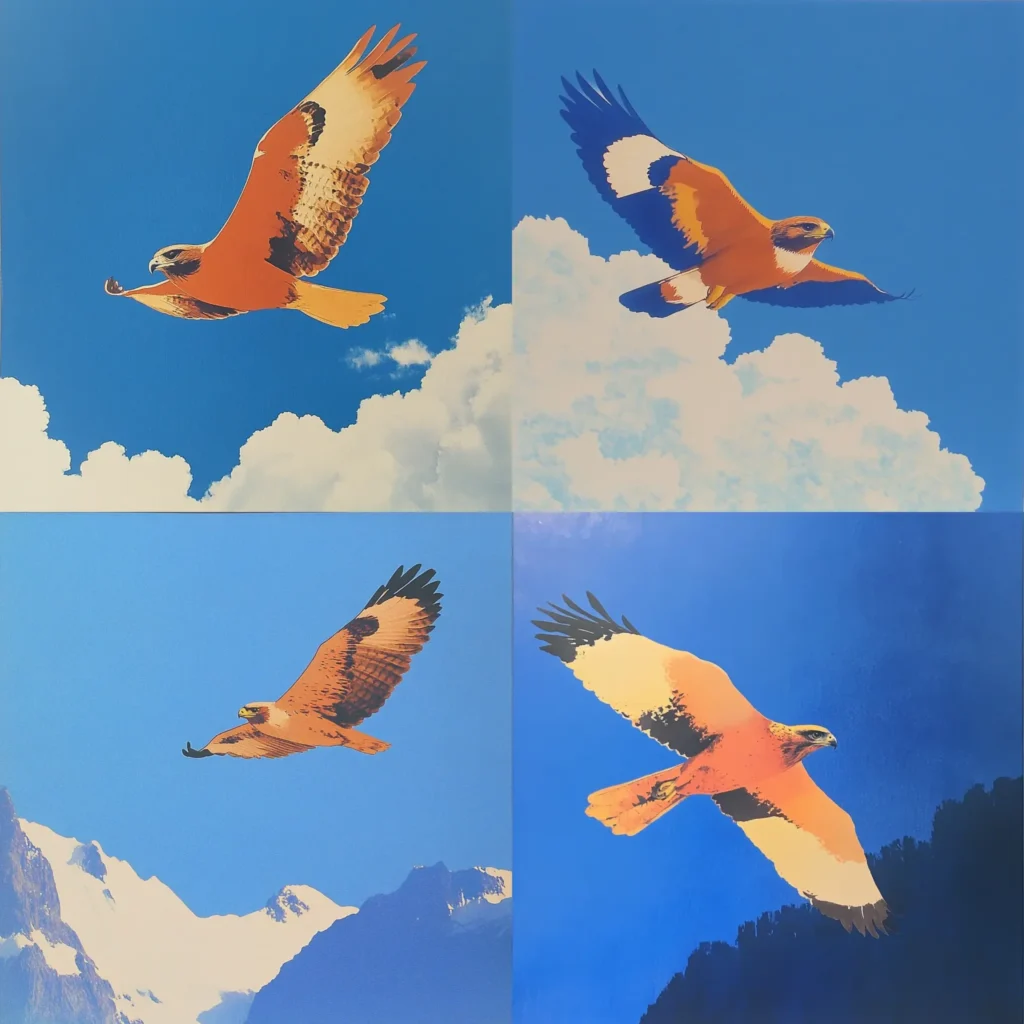
flying hawk --sref 4075906083 --sw 700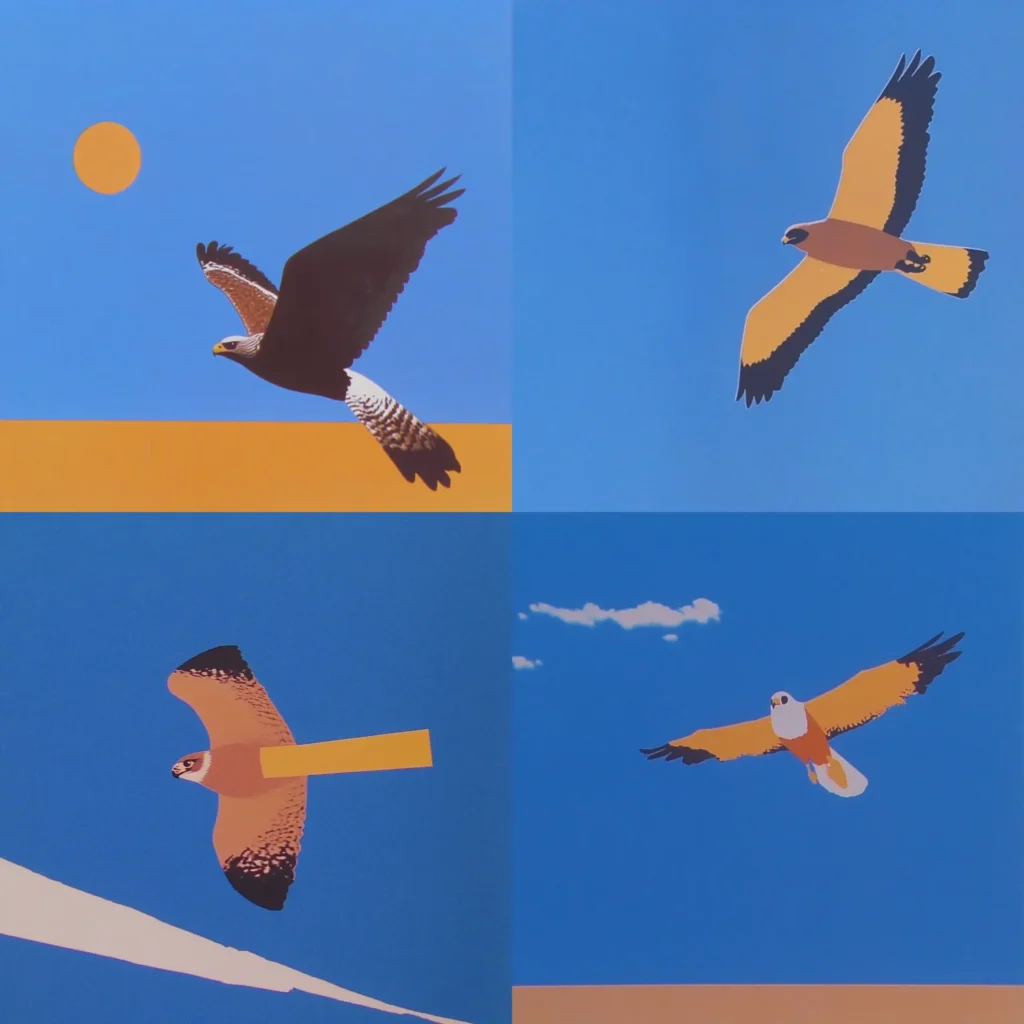
This is great for when you want the essence of a style without it dominating the image. And it's something you have to test for every individual style code, because the style weight you like most for one code can look totally different for another one.
Playing with --stylize
The --stylize parameter is like a volume knob for your style code. It goes from 0 to 1000, with 100 being the default. Let's give it a try and see what happens:
- Start with your basic prompt and style code.
- Add
--stylizewith different values. - Use permutations to test multiple values at once (it's a real time-saver).
Try something like this:
flying hawk --sref 4075906083 --stylize {200, 400, 600, 800, 1000}Here are the results:
flying hawk --sref 4075906083 --stylize 200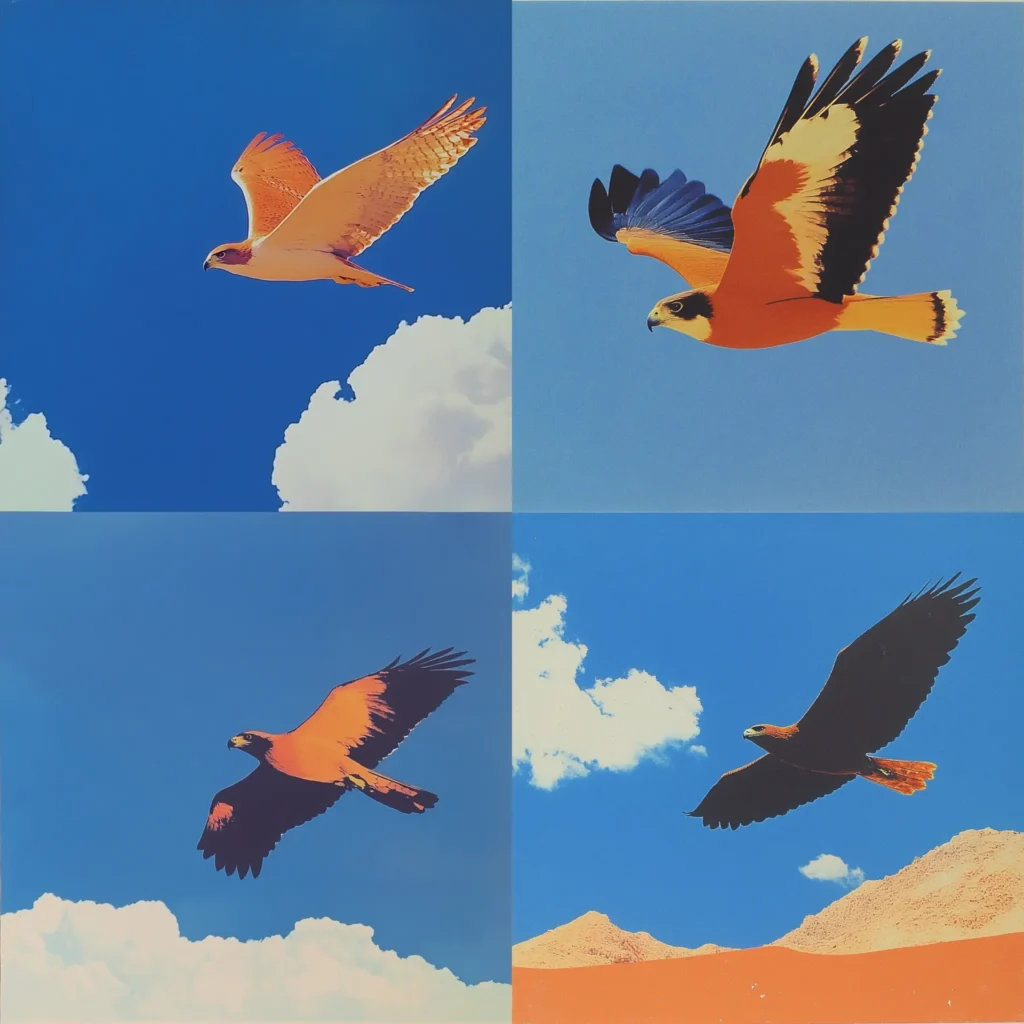
flying hawk --sref 4075906083 --stylize 400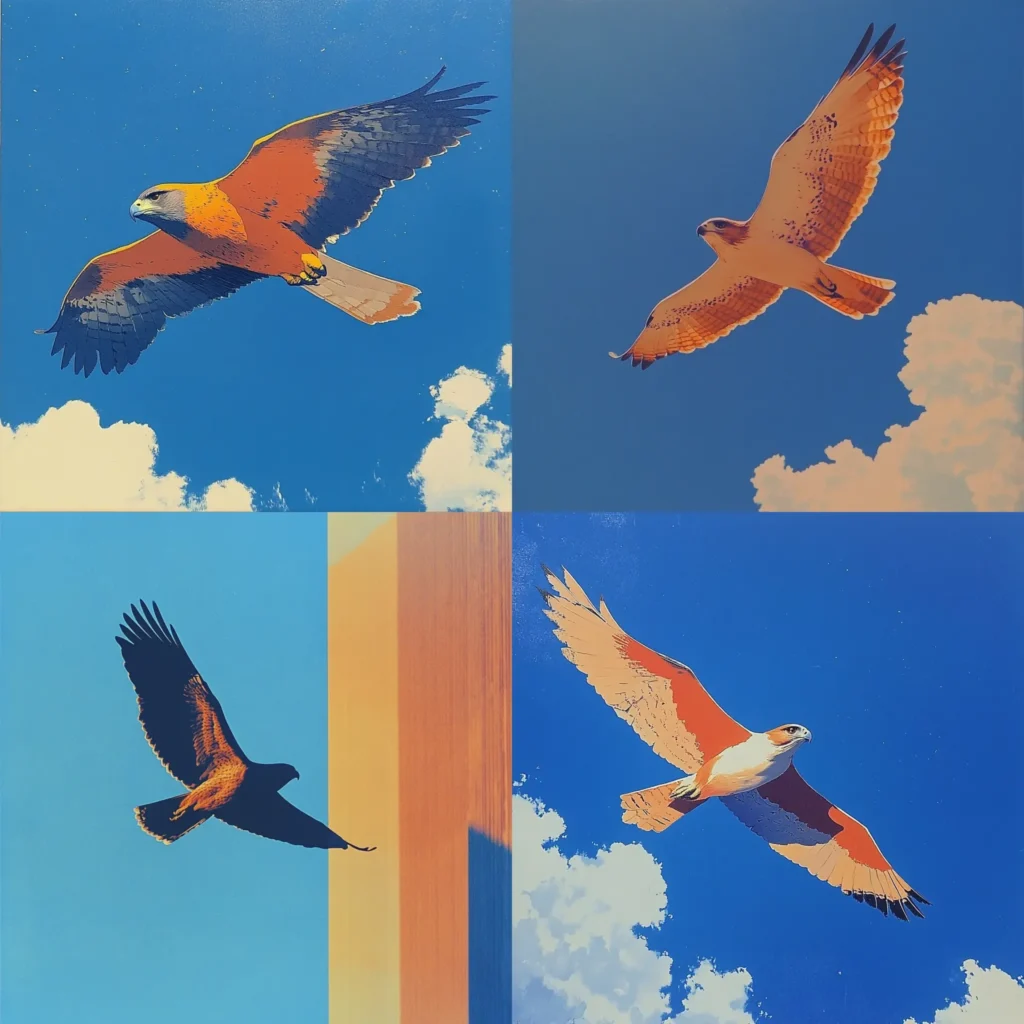
flying hawk --sref 4075906083 --stylize 600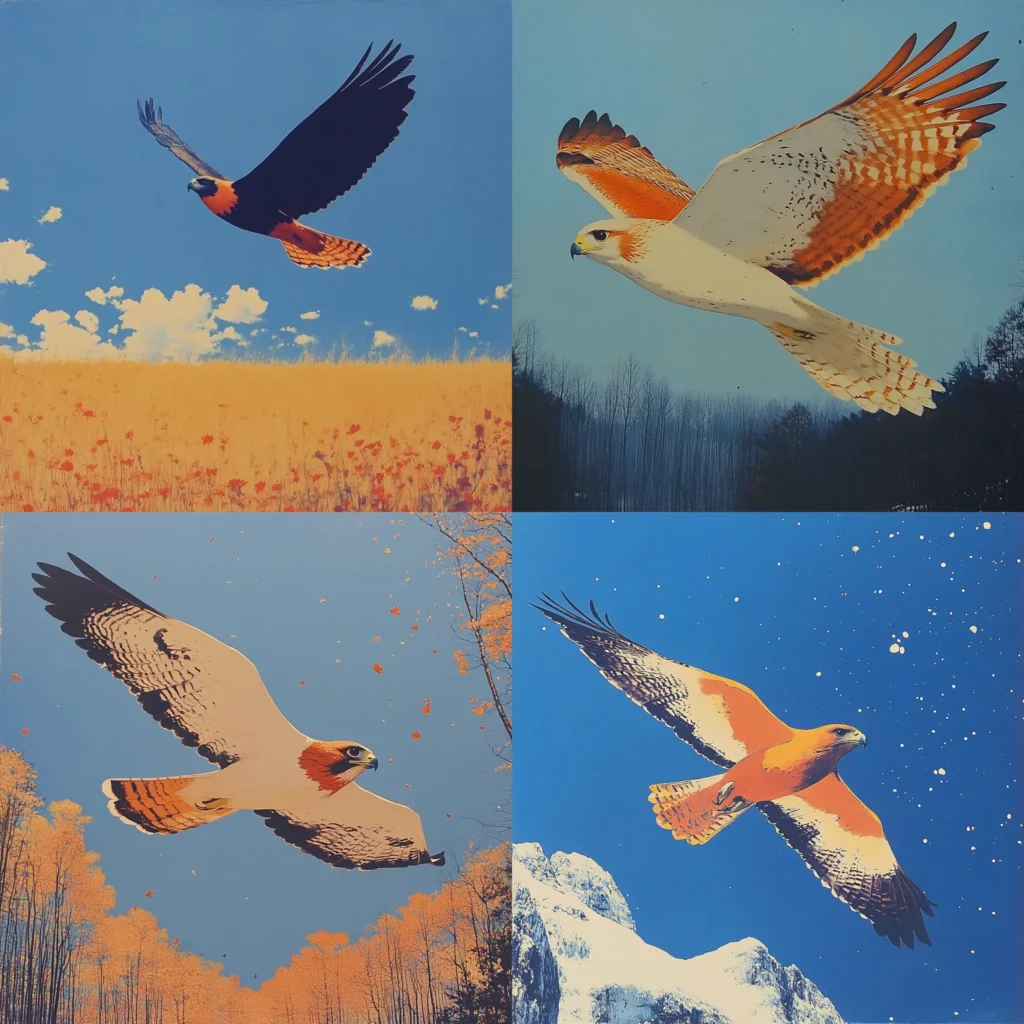
flying hawk --sref 4075906083 --stylize 800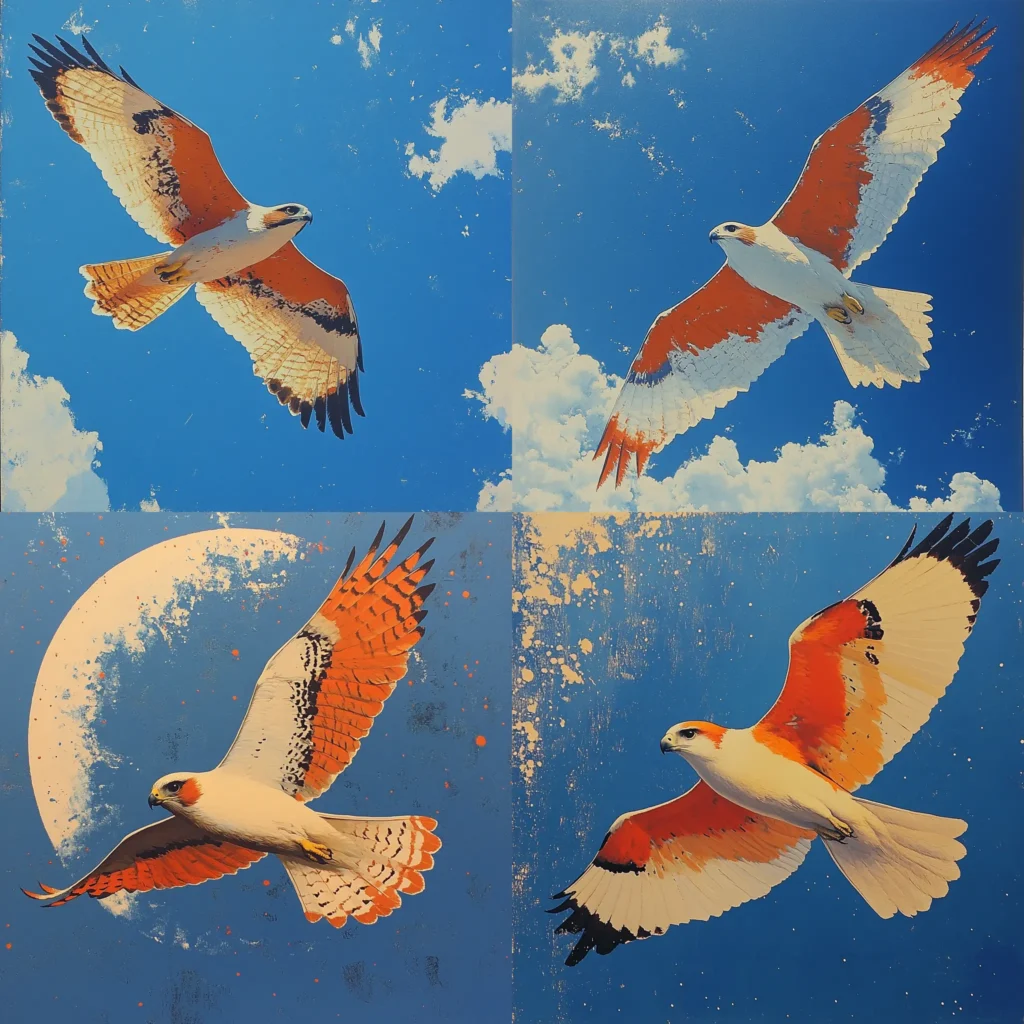
And for the grand final, we have --stylize 1000, which most of the time is a little bit over the top (what are these orange dots supposed to be?):
flying hawk --sref 4075906083 --stylize 1000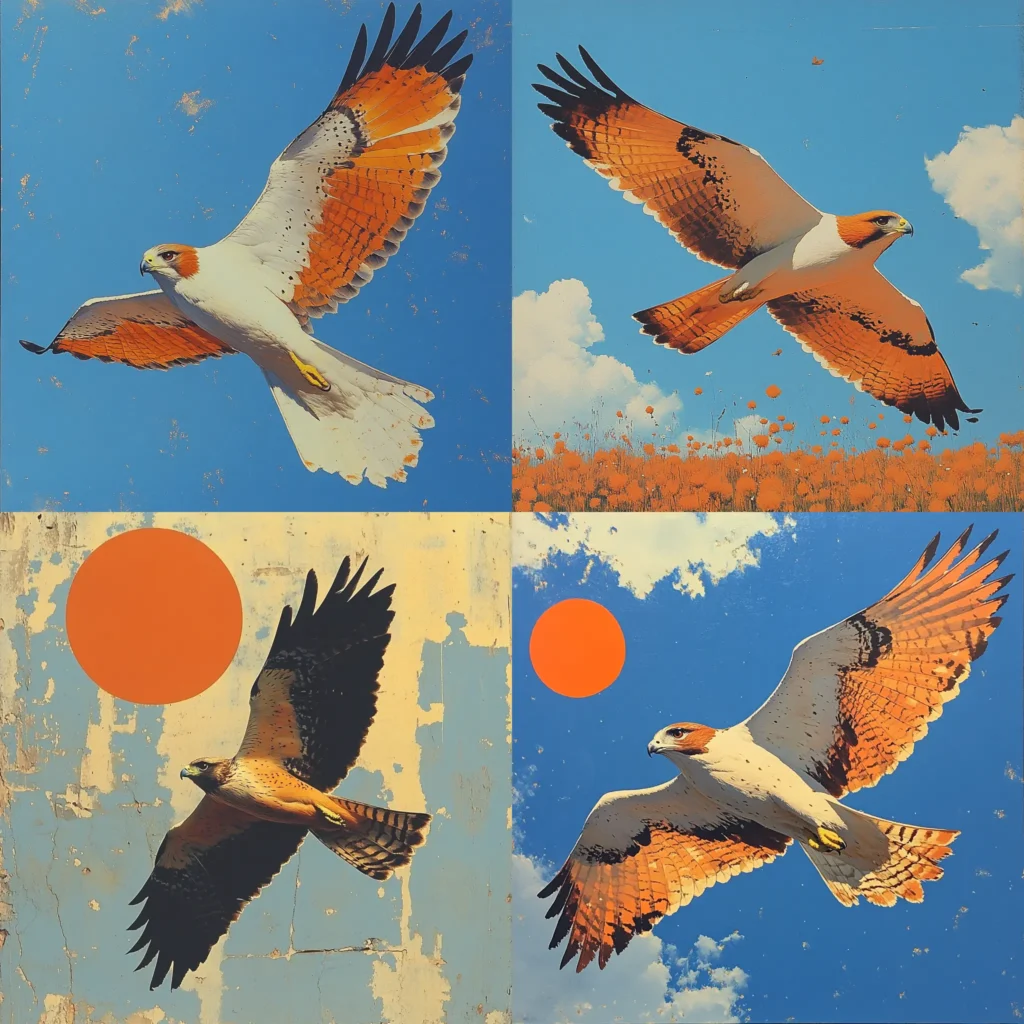
I'd recommend testing different values with each style code – there's no one-size-fits-all, and what you like best is going to vary from code to code. As you can see in the example above, the results won't be crazy different; after all, it's still the same style applied to the images.
But I'm sure that there are styles where you'll like a certain --stylize value more than others!
Pro tip: Don't forget to test these with --style raw too.
Aspect Ratio Adventures
Now, let's see how your style code behaves in different shapes:
- Start with your favorite settings from the stylize test.
- Add different aspect ratios like 9:16 or 3:2.
- Again, use permutations to test multiple at once.
Your prompt might look like this:
flying hawk --sref 4075906083 --stylize 600 --ar {9:16, 3:2}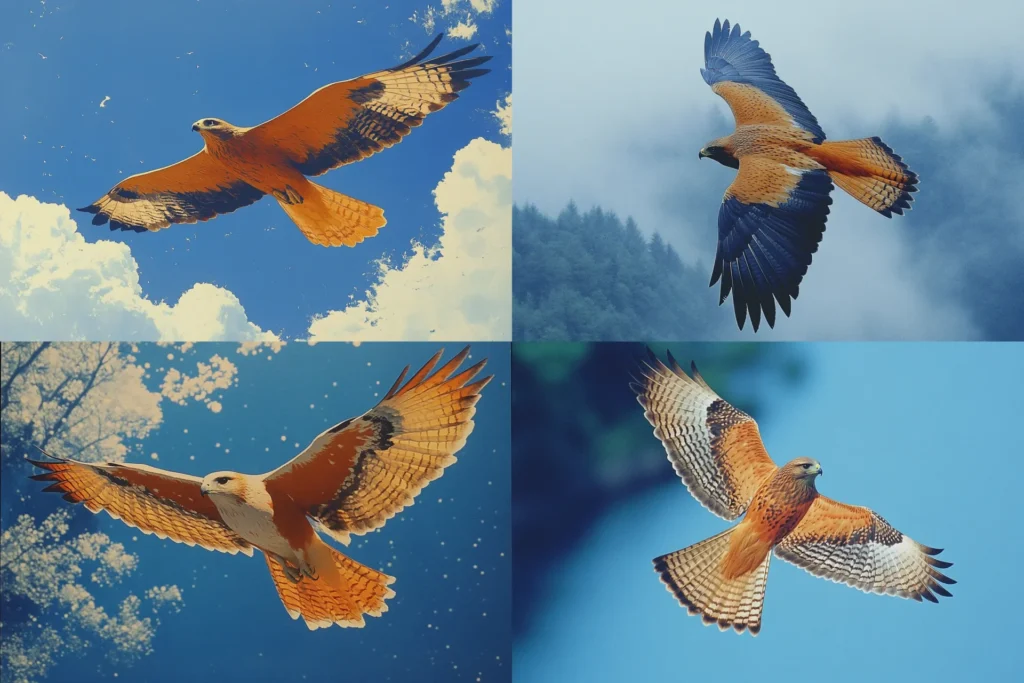
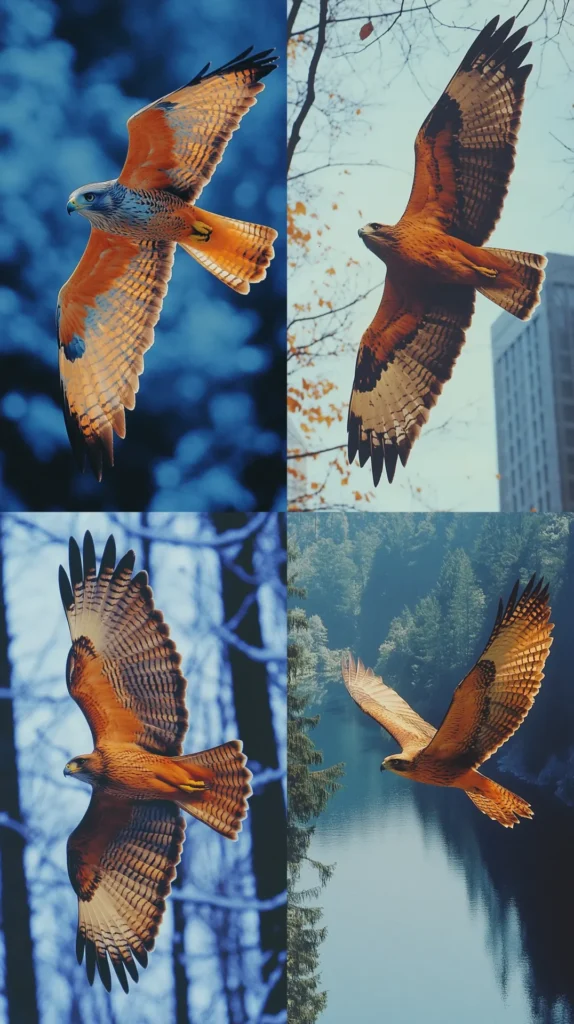
Pay attention to how the composition changes with different aspect ratios. Does your style code prefer certain shapes? In this case, there's definitely a tendency towards more photorealistic images, without mentioning it in the prompt.
It's really interesting to see the impact something as simple as the aspect ratio can have on an image!
Going Wild: Prompts + Parameters
Now for the fun part – let's throw everything at the wall and see what sticks:
- Change up your prompt. Get creative!
- Mix in other parameters like
--chaosor--weird. - Play with style weight (
--sw) to fine-tune the style's influence.
Here are some ideas to get you started (with different style codes for a change):
photo of a tropical sunset --chaos 11 --ar 3:2 --sref 2302 --stylize 800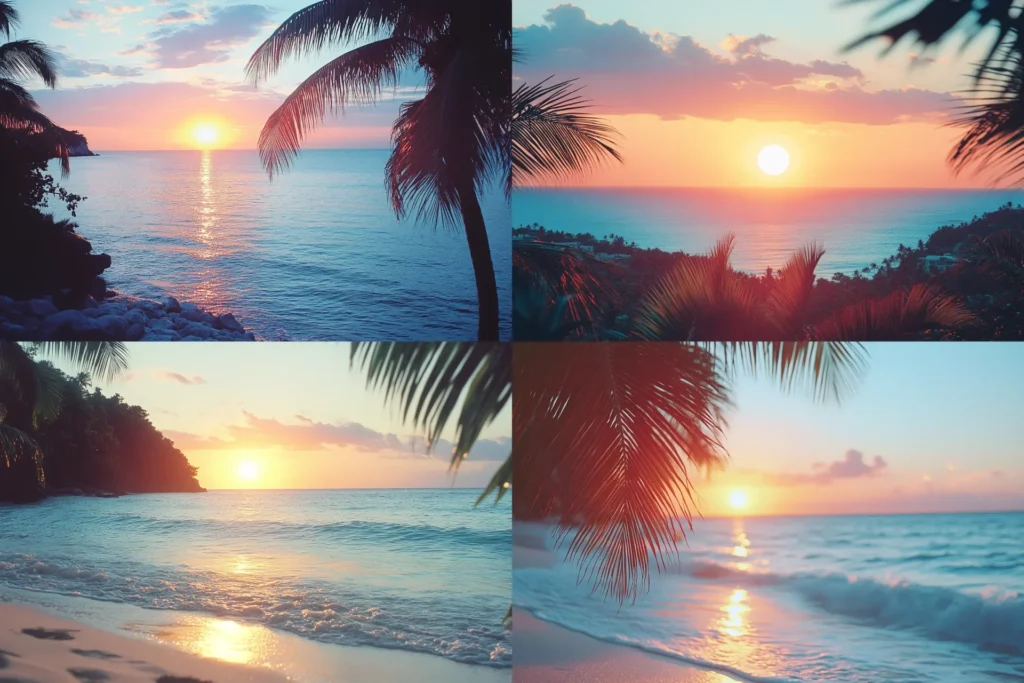
This turned out kinda beautiful!
abstract binary code falling down --ar 3:2 --sref 3542292406 --stylize 600 --sw 50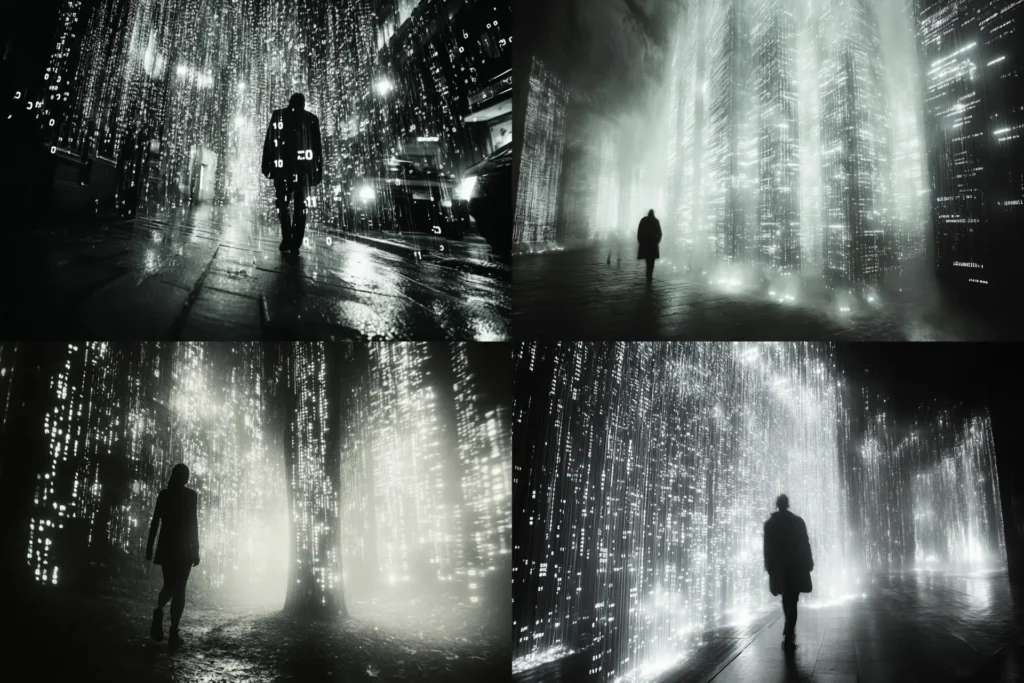
This one definitely has a vibe.
You see: This is where the magic happens. You might stumble upon some amazing combinations that really make your style code shine!
Remember, testing can eat up a lot of time (and fast hours). It's okay to jump into using your favorite settings without exploring every possible combination. The goal is to understand your style code's strengths and quirks so you can use it effectively in your projects.
Advanced Techniques and Fine-tuning for Midjourney Style Codes
Alright, it's time to level up! We're diving into the deep end now, where the real magic happens. These advanced techniques will help you squeeze every ounce of potential out of your style codes.
Blending Style Codes
Who says you can only use one style code at a time? Not us! Let's mix and match:
- Choose two (or more) style codes you want to blend.
- Use this syntax:
--sref [code1] [code2]
For example:
futuristic cityscape --sref 423788930 698401885 --ar 16:9 --chaos 8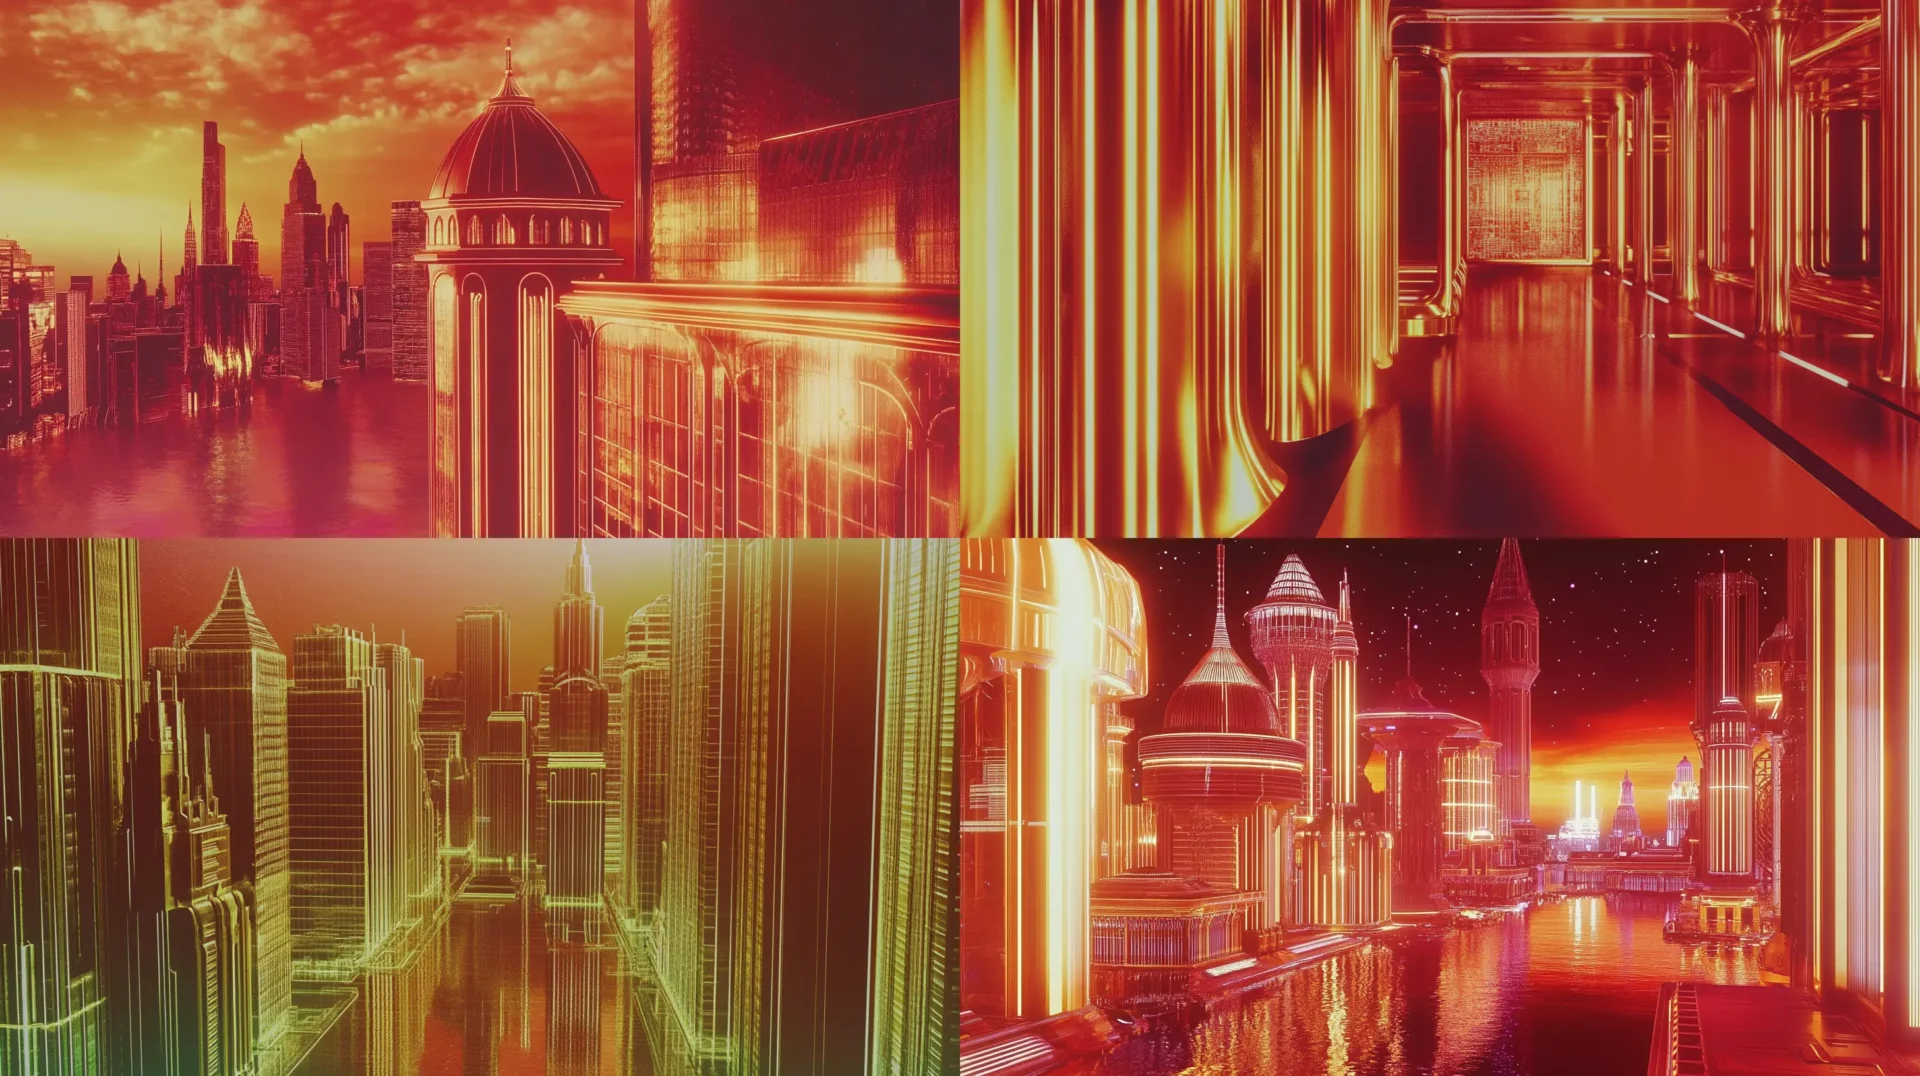
Weighted Style Codes: Fine-tuning the Mix
Want more control over your style blend? Assign weights to your codes:
- Use double colons (::) followed by a number to assign weight.
- Higher numbers give that style more influence.
Try this:
futuristic cityscape --sref 423788930 698401885::2 --ar 16:9 --chaos 8In this case, the second style code will have twice the influence of the first. See there difference from the last images, where both codes were weighted equally?
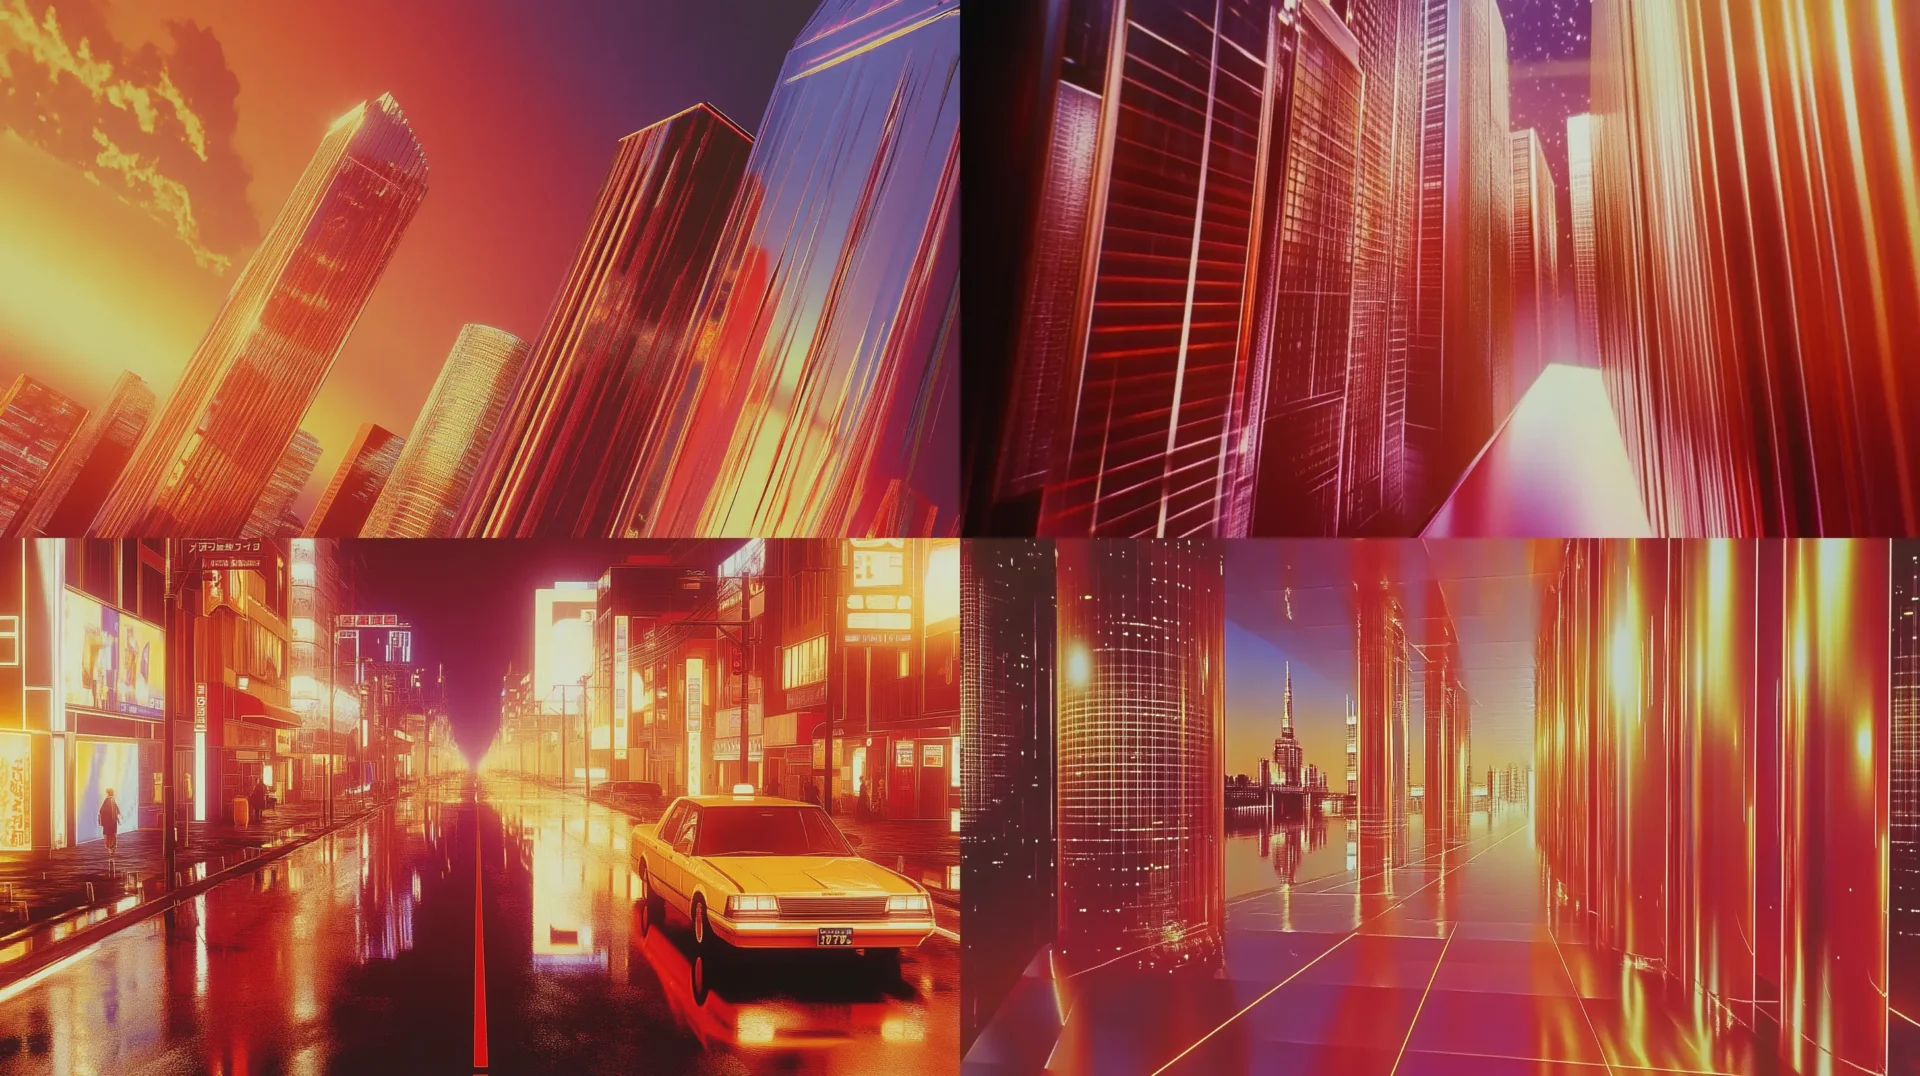
Play around with different ratios to find your perfect blend!
Style Codes + Image Reference: The Dynamic Duo
Why choose between style codes and images as style reference when you can use both?
- Start with your basic prompt.
- Add your style code(s) after and add an image for style reference as well.

The result could be something like this:
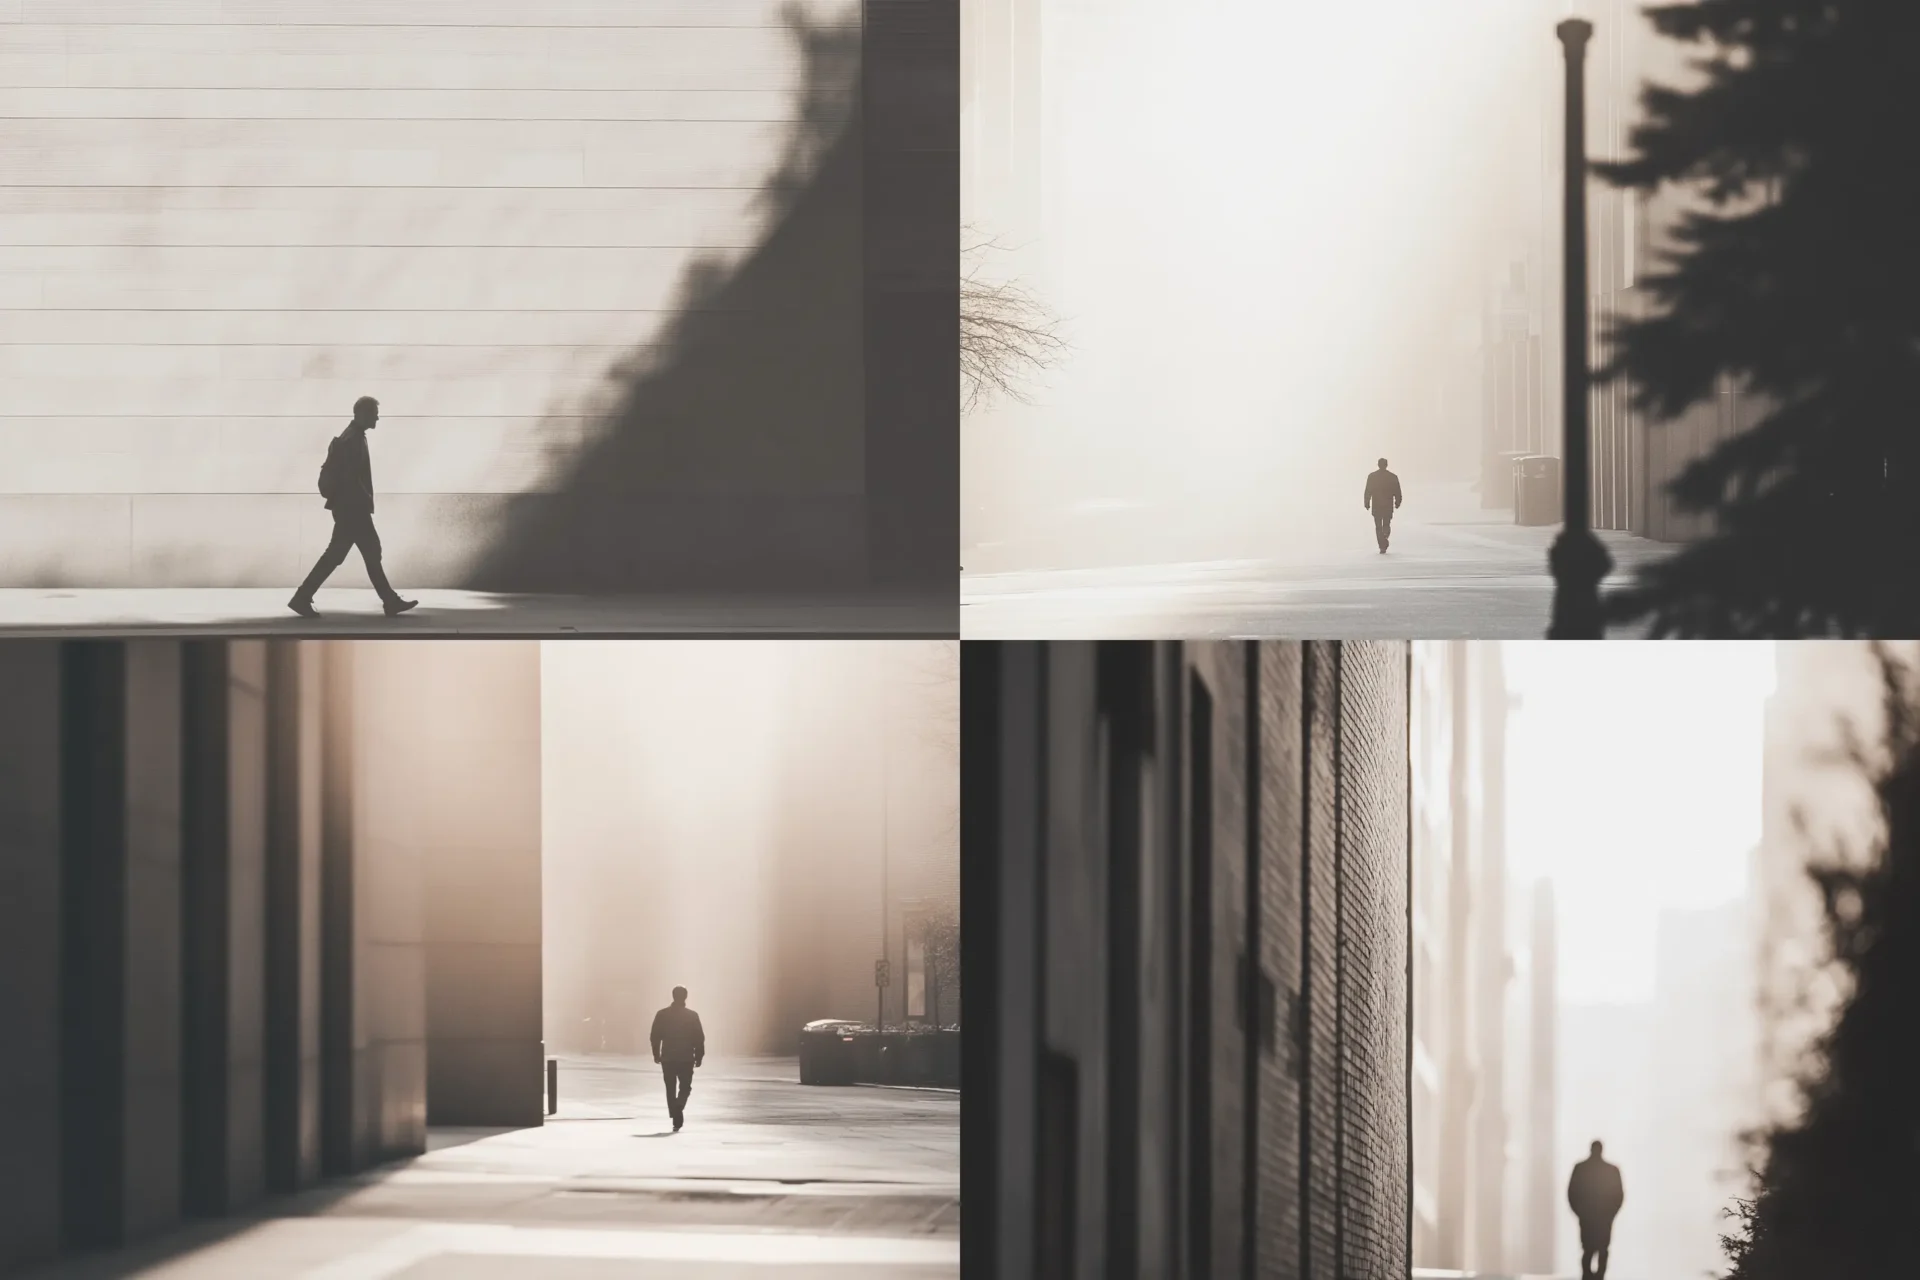
This can be a powerful combo – I discovered some of my favorite styles combining codes and images!
Chaos and Weird: Embracing the Unexpected
Sometimes, a little chaos is just what you need. The --chaos and --weird parameters can add some spice to your style code creations:
- Add
--chaosfollowed by a value (0-100) to increase variability. - Use
--weirdfollowed by a value (0-3000) to, well, make things weird.
Give this a whirl:
tropical sunset --chaos 12 --ar 16:9 --sref 882 --weird 1000 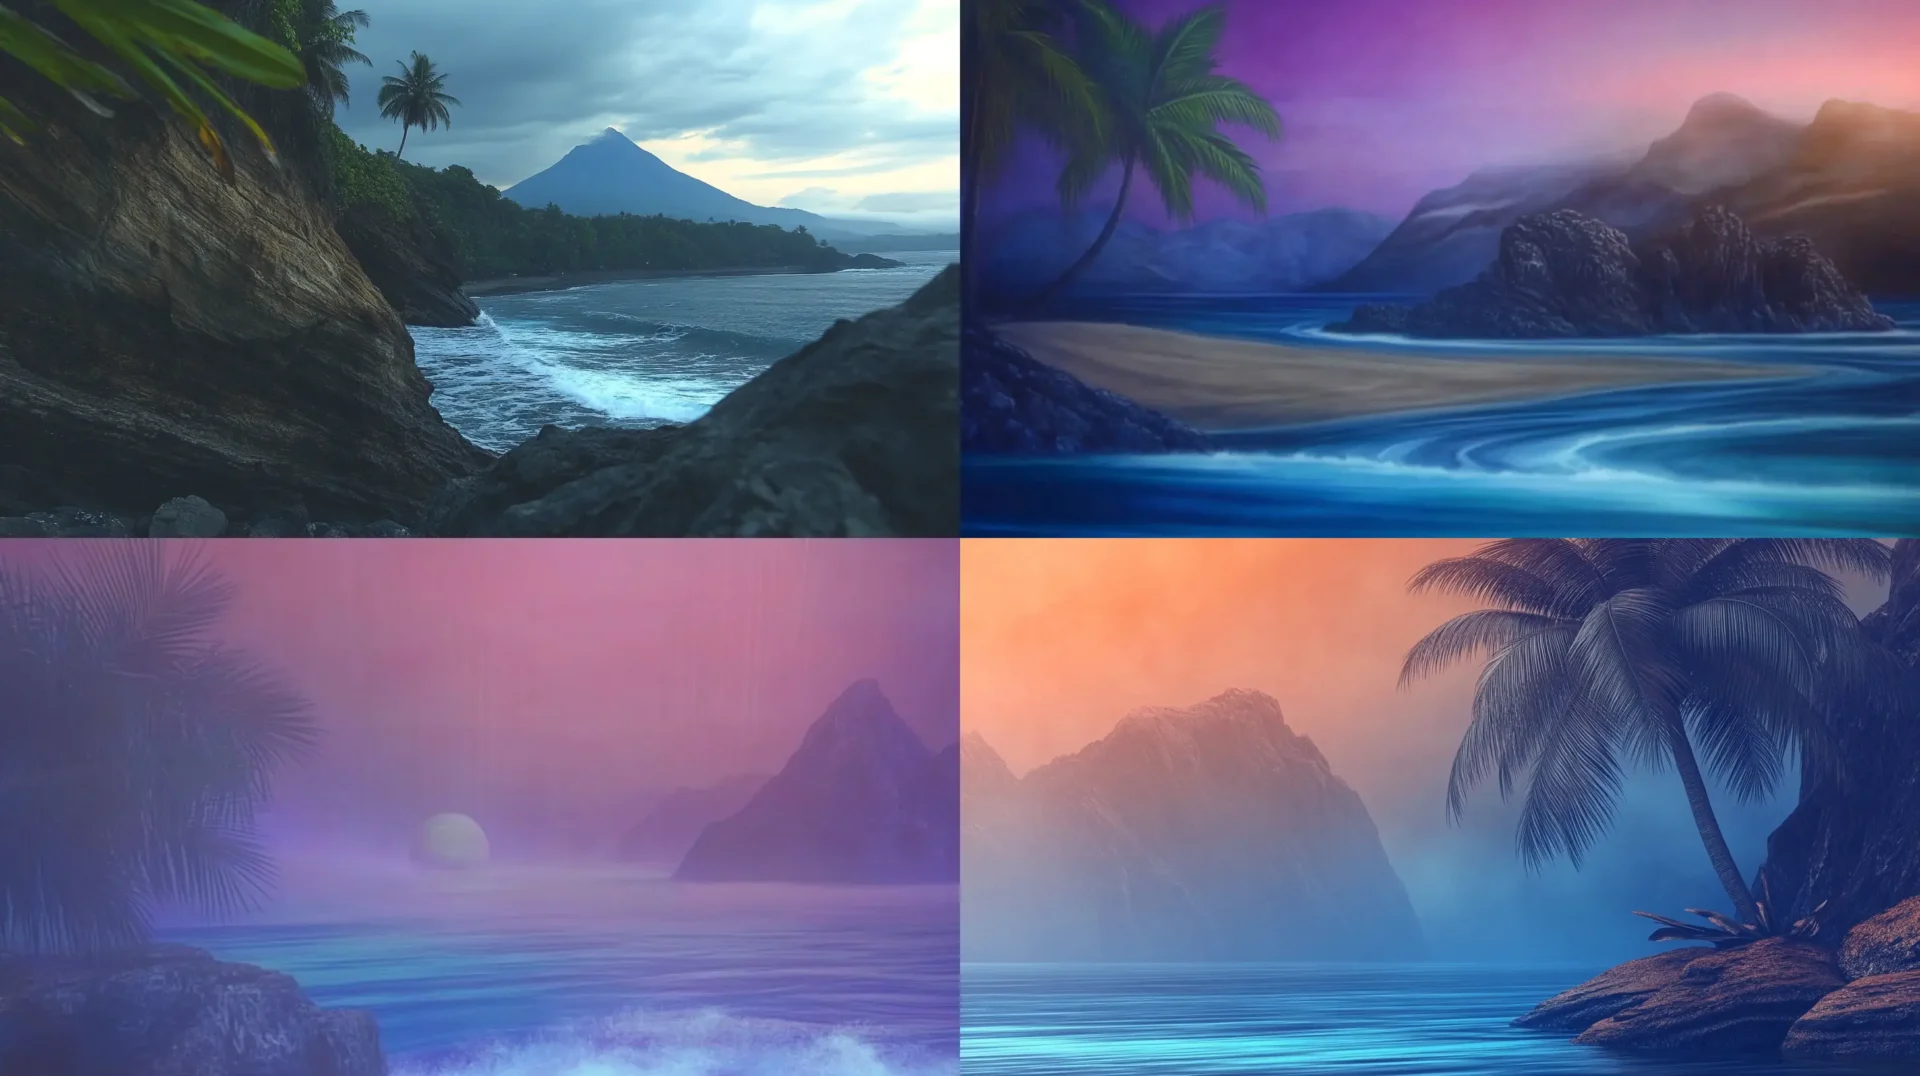
Fair warning: results may be wild. But that's half the fun, right? And you might find some real gems!
Remember, these advanced techniques are all about experimentation. Don't be afraid to try wild combinations – you never know what amazing results you might stumble upon. The key is to play, learn, and have fun with it!
Conclusion: Onward to New Creative Horizons
You've now got the tools and knowledge to dive deep into the world of Midjourney style codes. But remember, this is just the beginning.
Right here on this website, you'll find hundreds of style codes waiting to be discovered. From photorealistic landscapes to abstract dreamscapes, from vintage aesthetics to futuristic visions – there's a style code for every creative impulse.
Set the filters to what you're looking for and start exploring!
